Create 360 Xperience
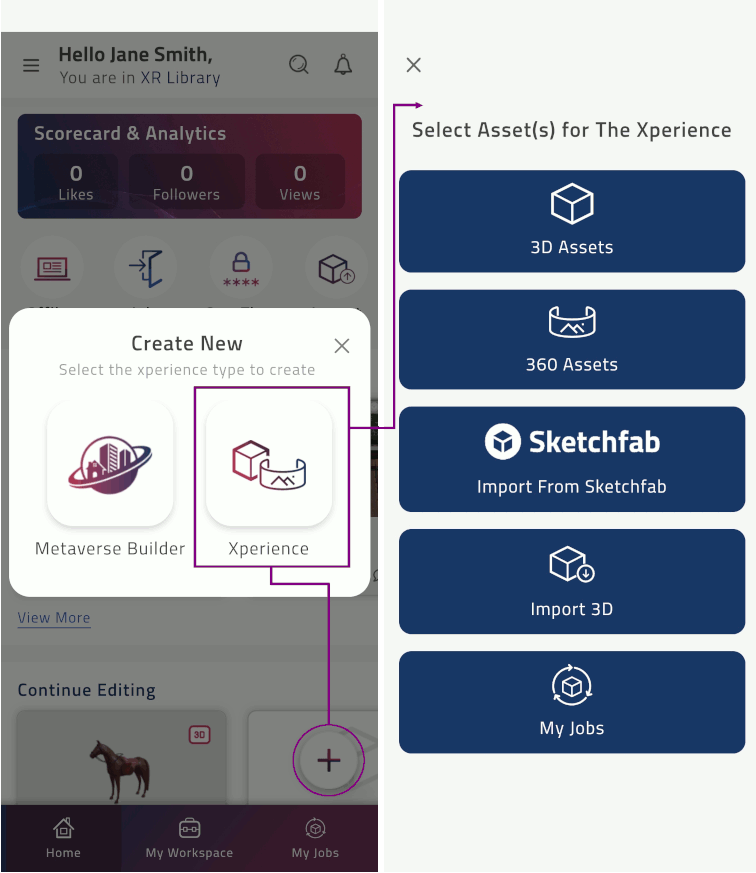
You can use the Create function to create Xperiences using the selected assets.
After creating the Xperience, you can add Xperience details, such as description, additional learning materials, and assigned students.
The Create function directs you to select objects and build the Xperience using the Xperience authoring tool.
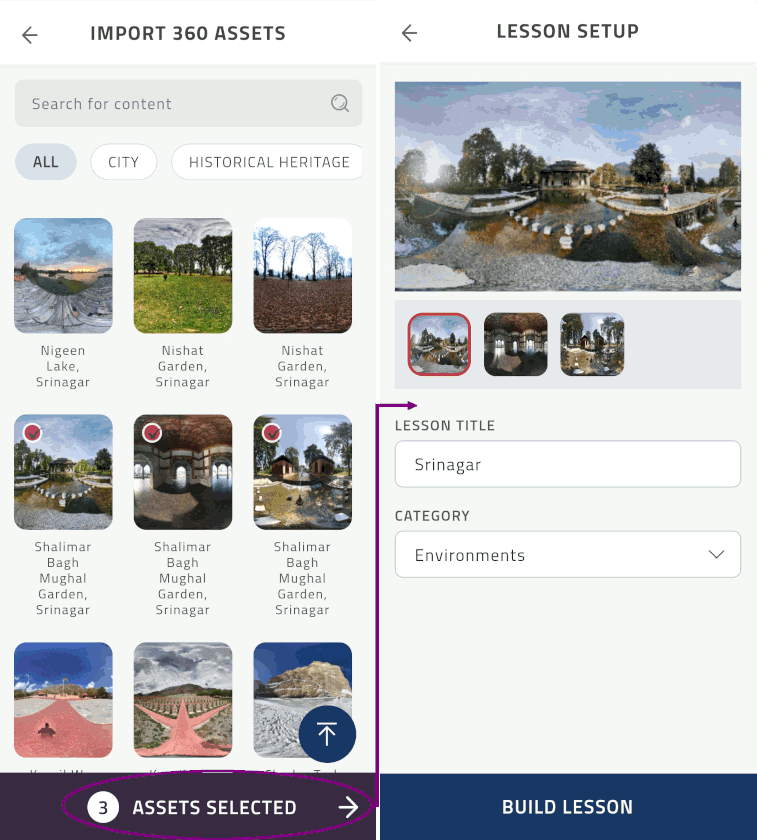
Select the object(s) you want to use
The number of selected objects is indicated with #. For example, 3
Specify Xperience information:
Type Xperience title
Select a Category in the dropdown list
Select Build Xperience
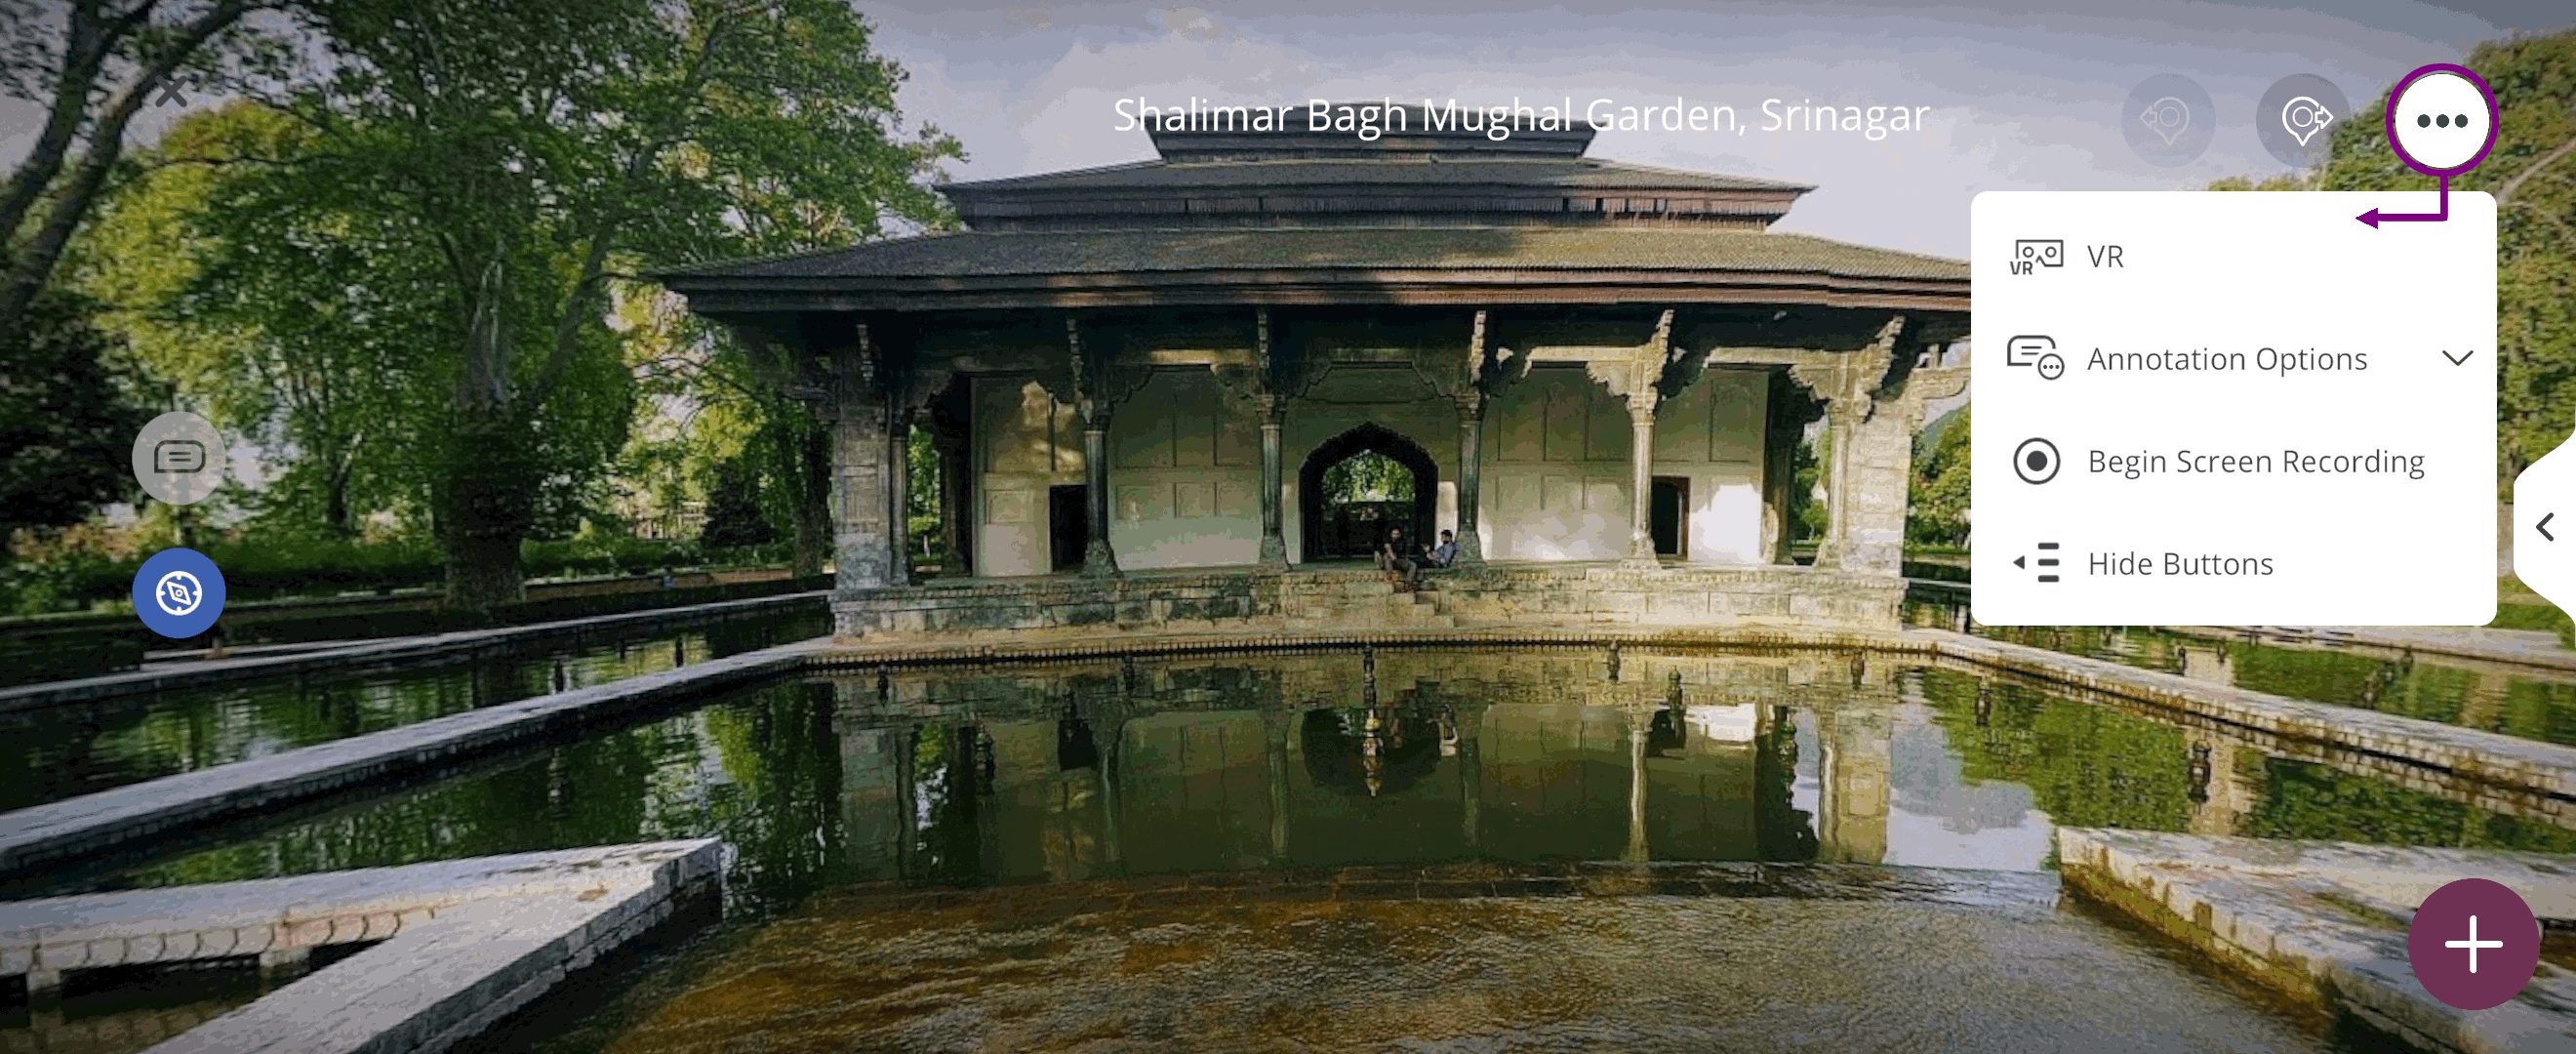
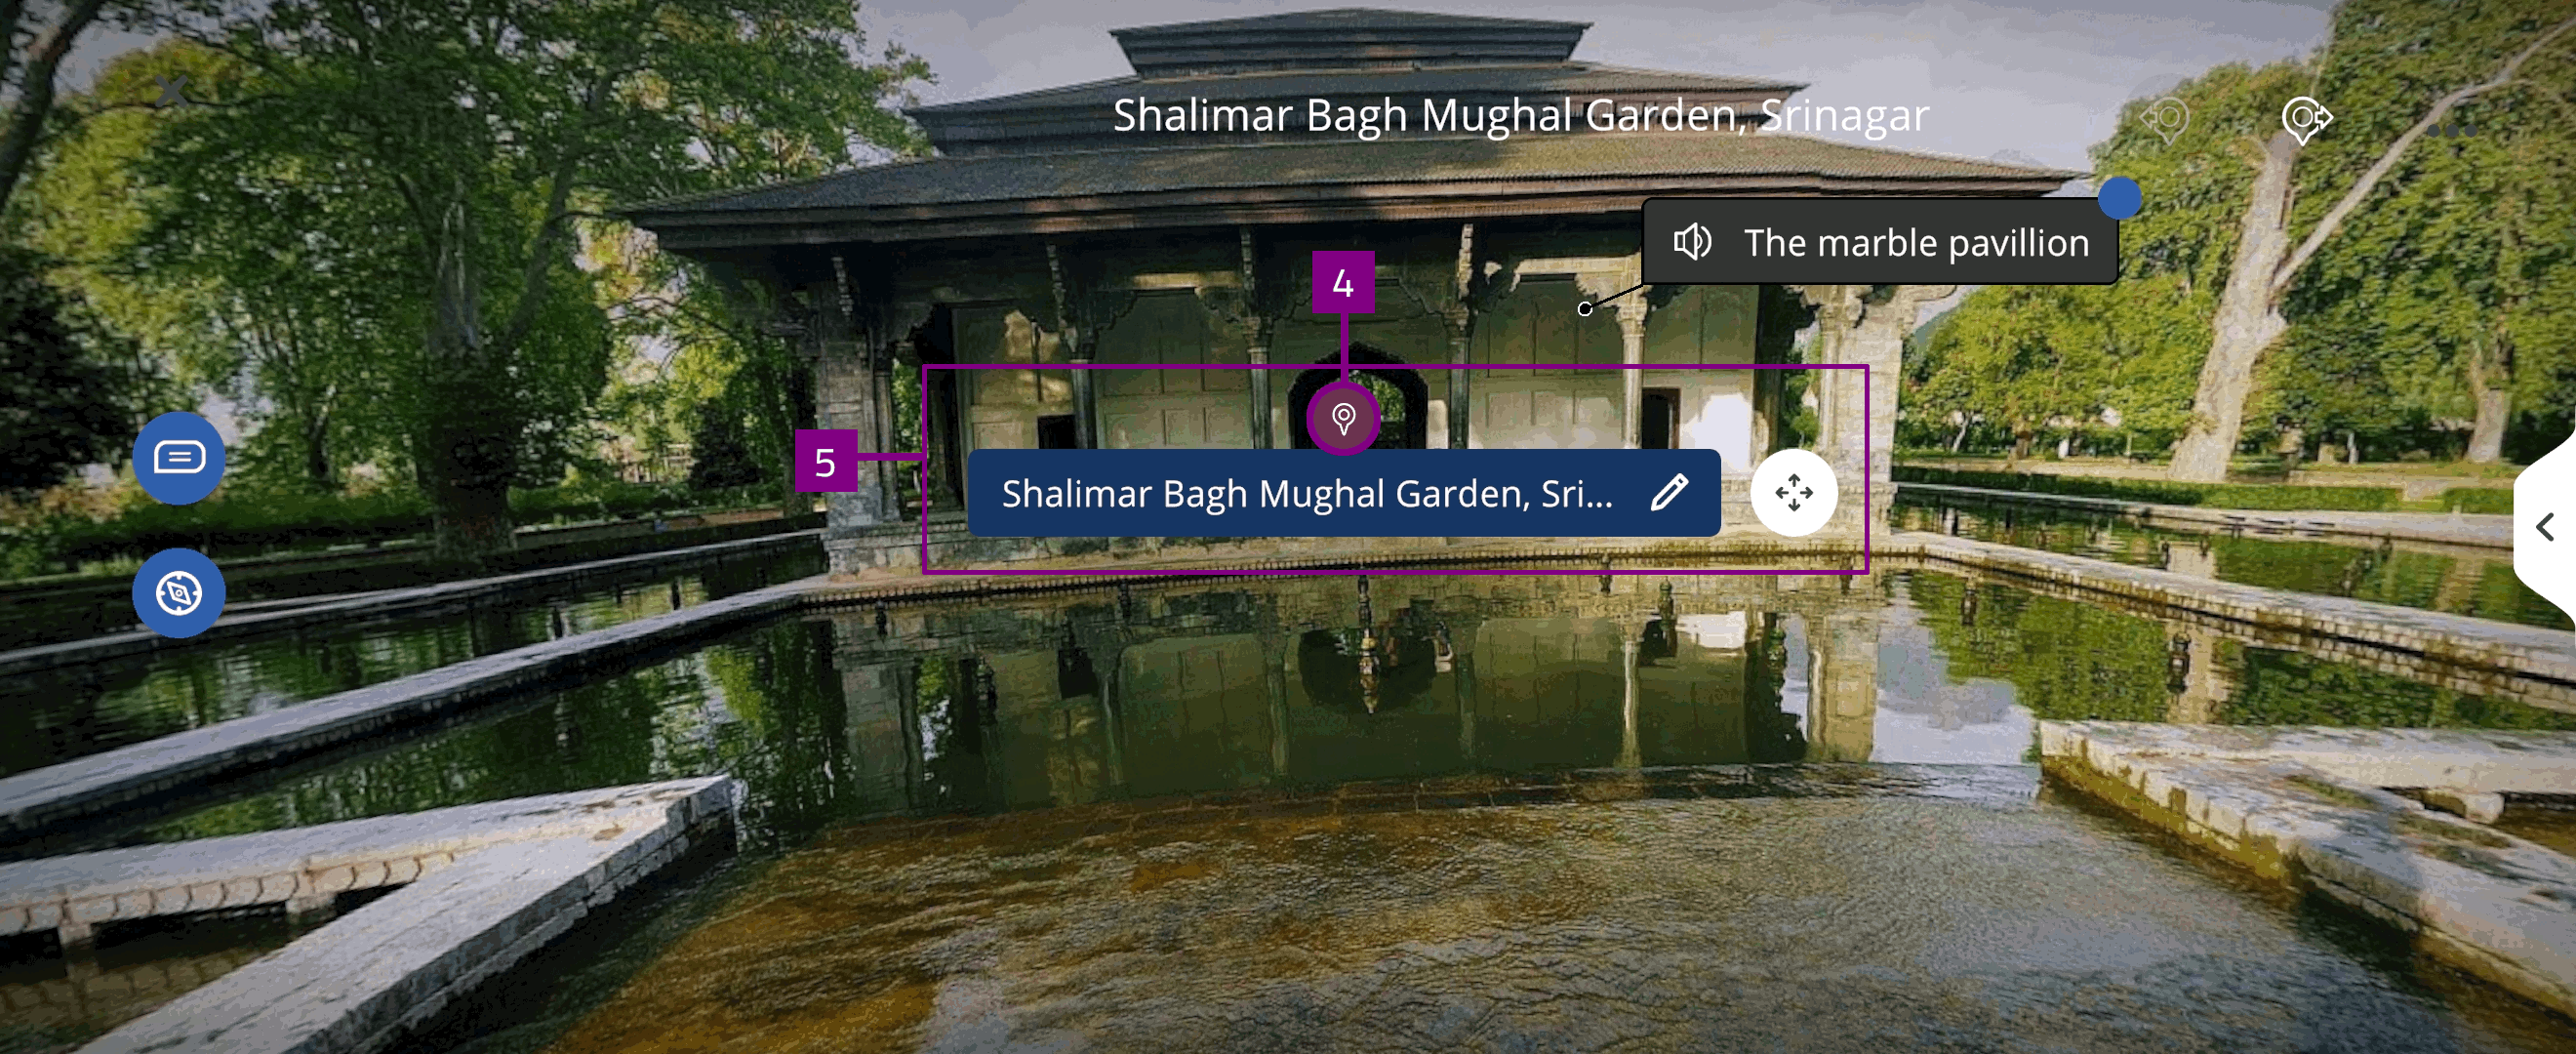
The selected object loads in 360 authoring tool
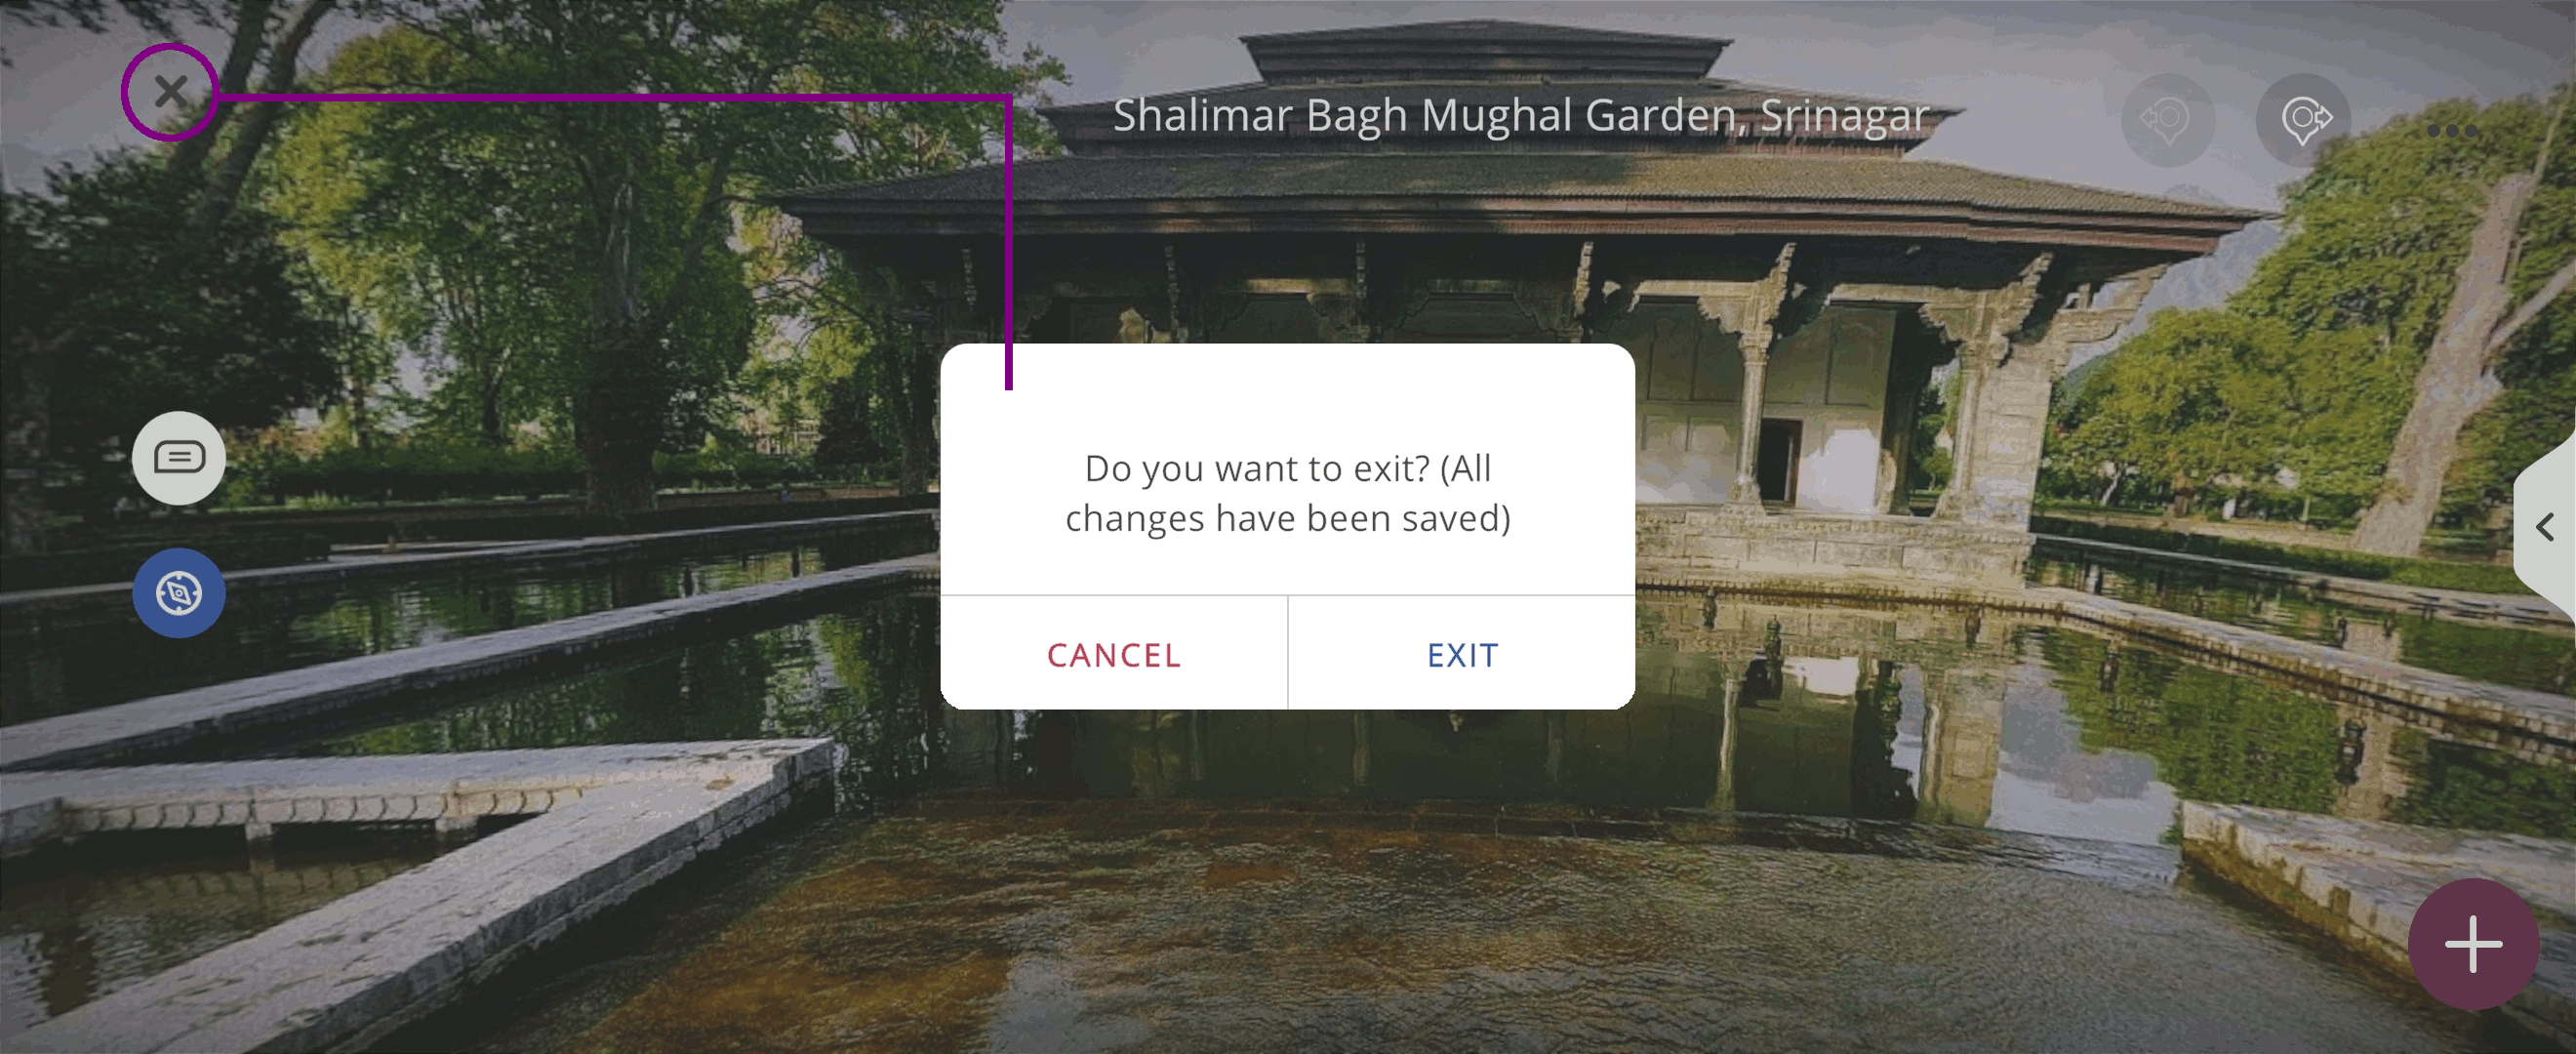
Select X to Exit the Xperience authoring tool and redirect to the Xperience page
Changes to the Xperience are automatically saved
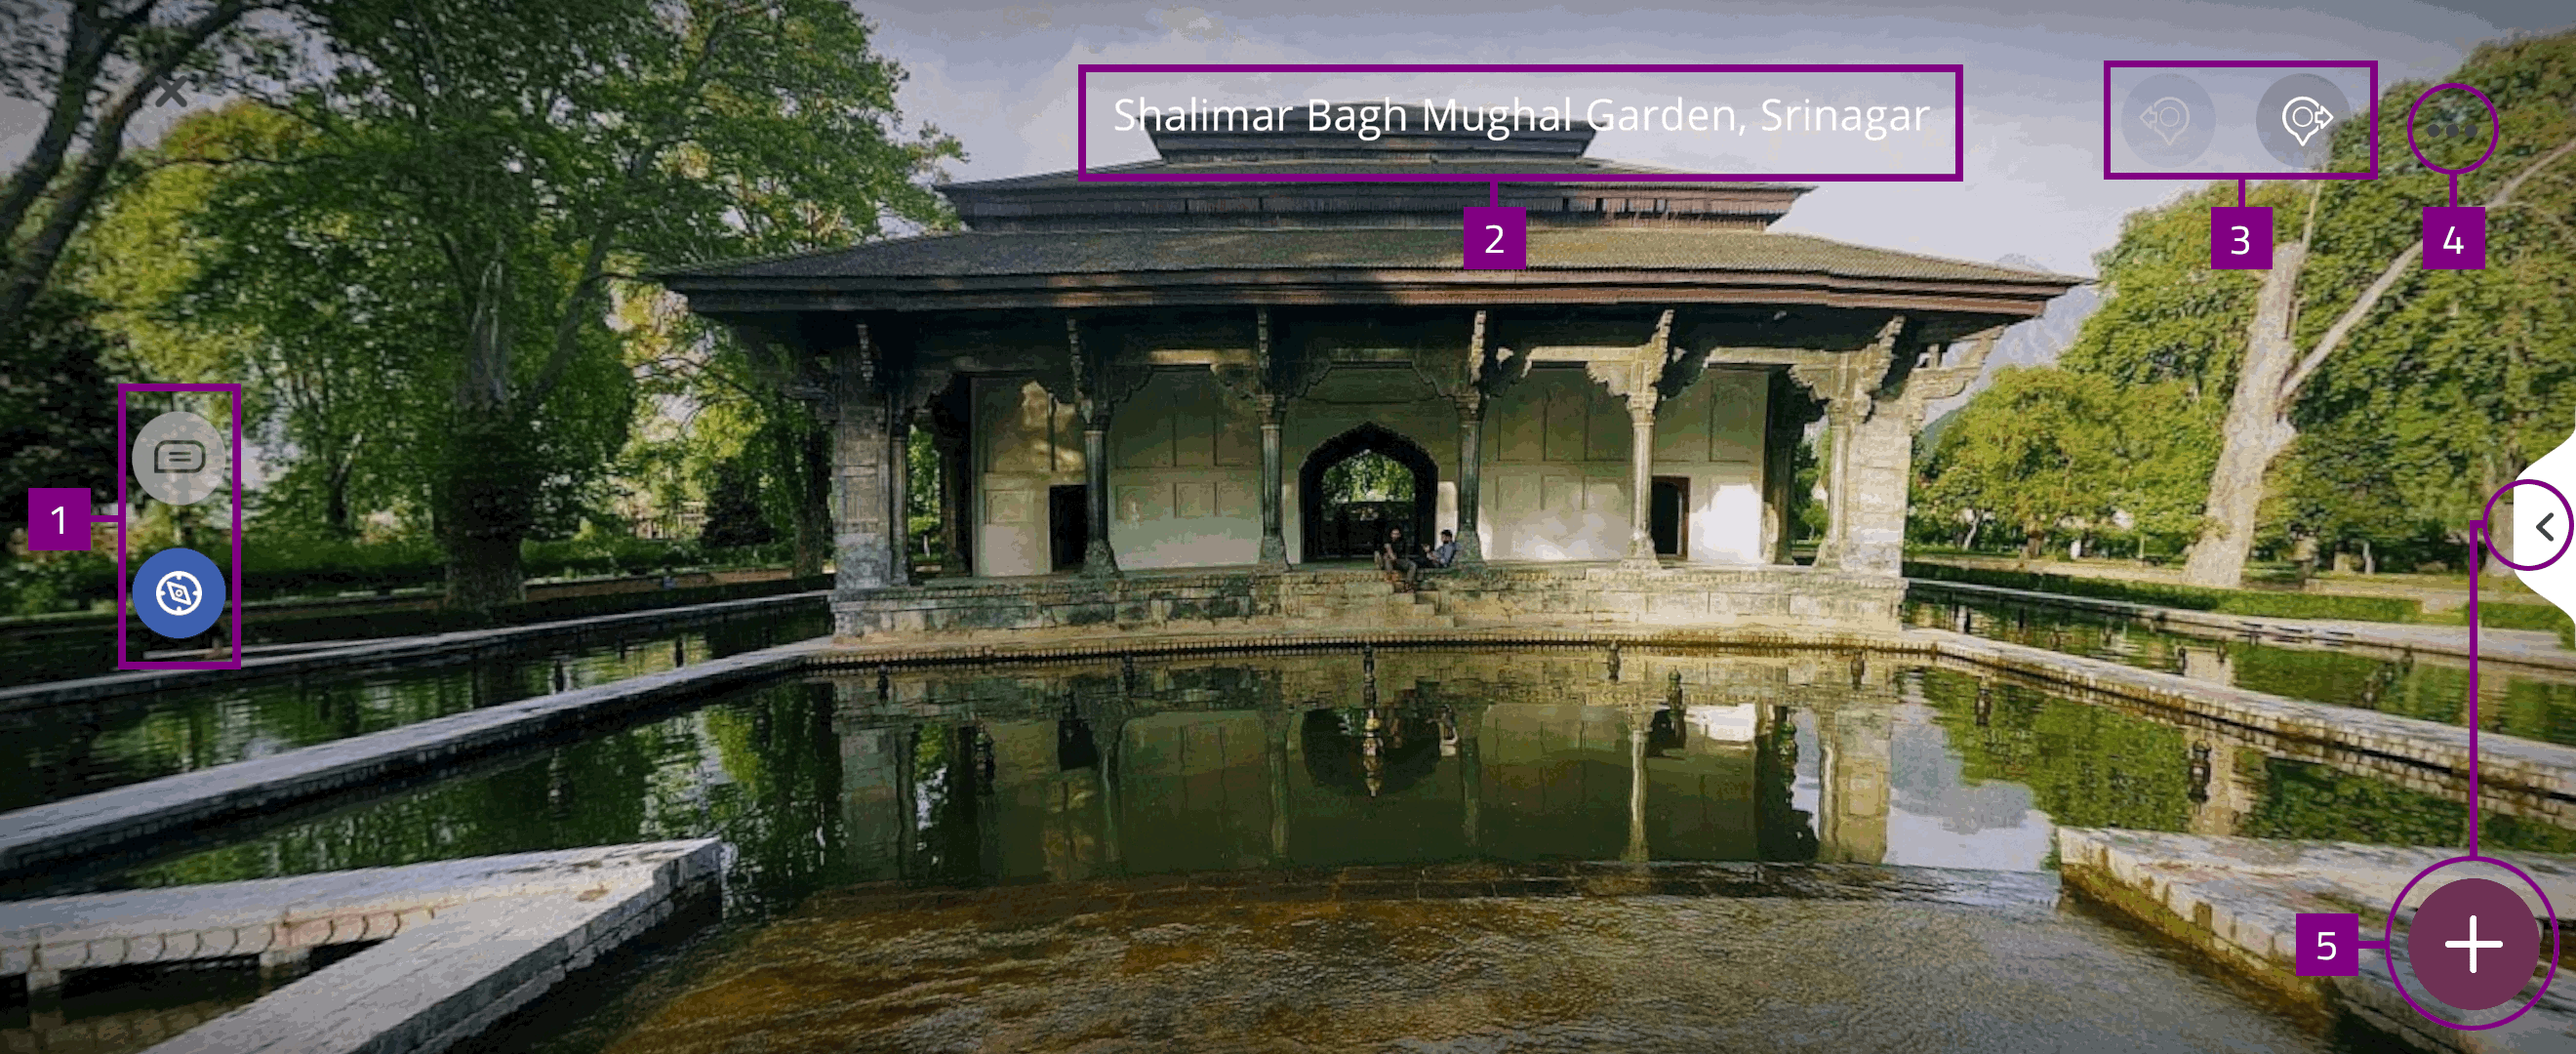
Exploration tools
The exploration tools include:
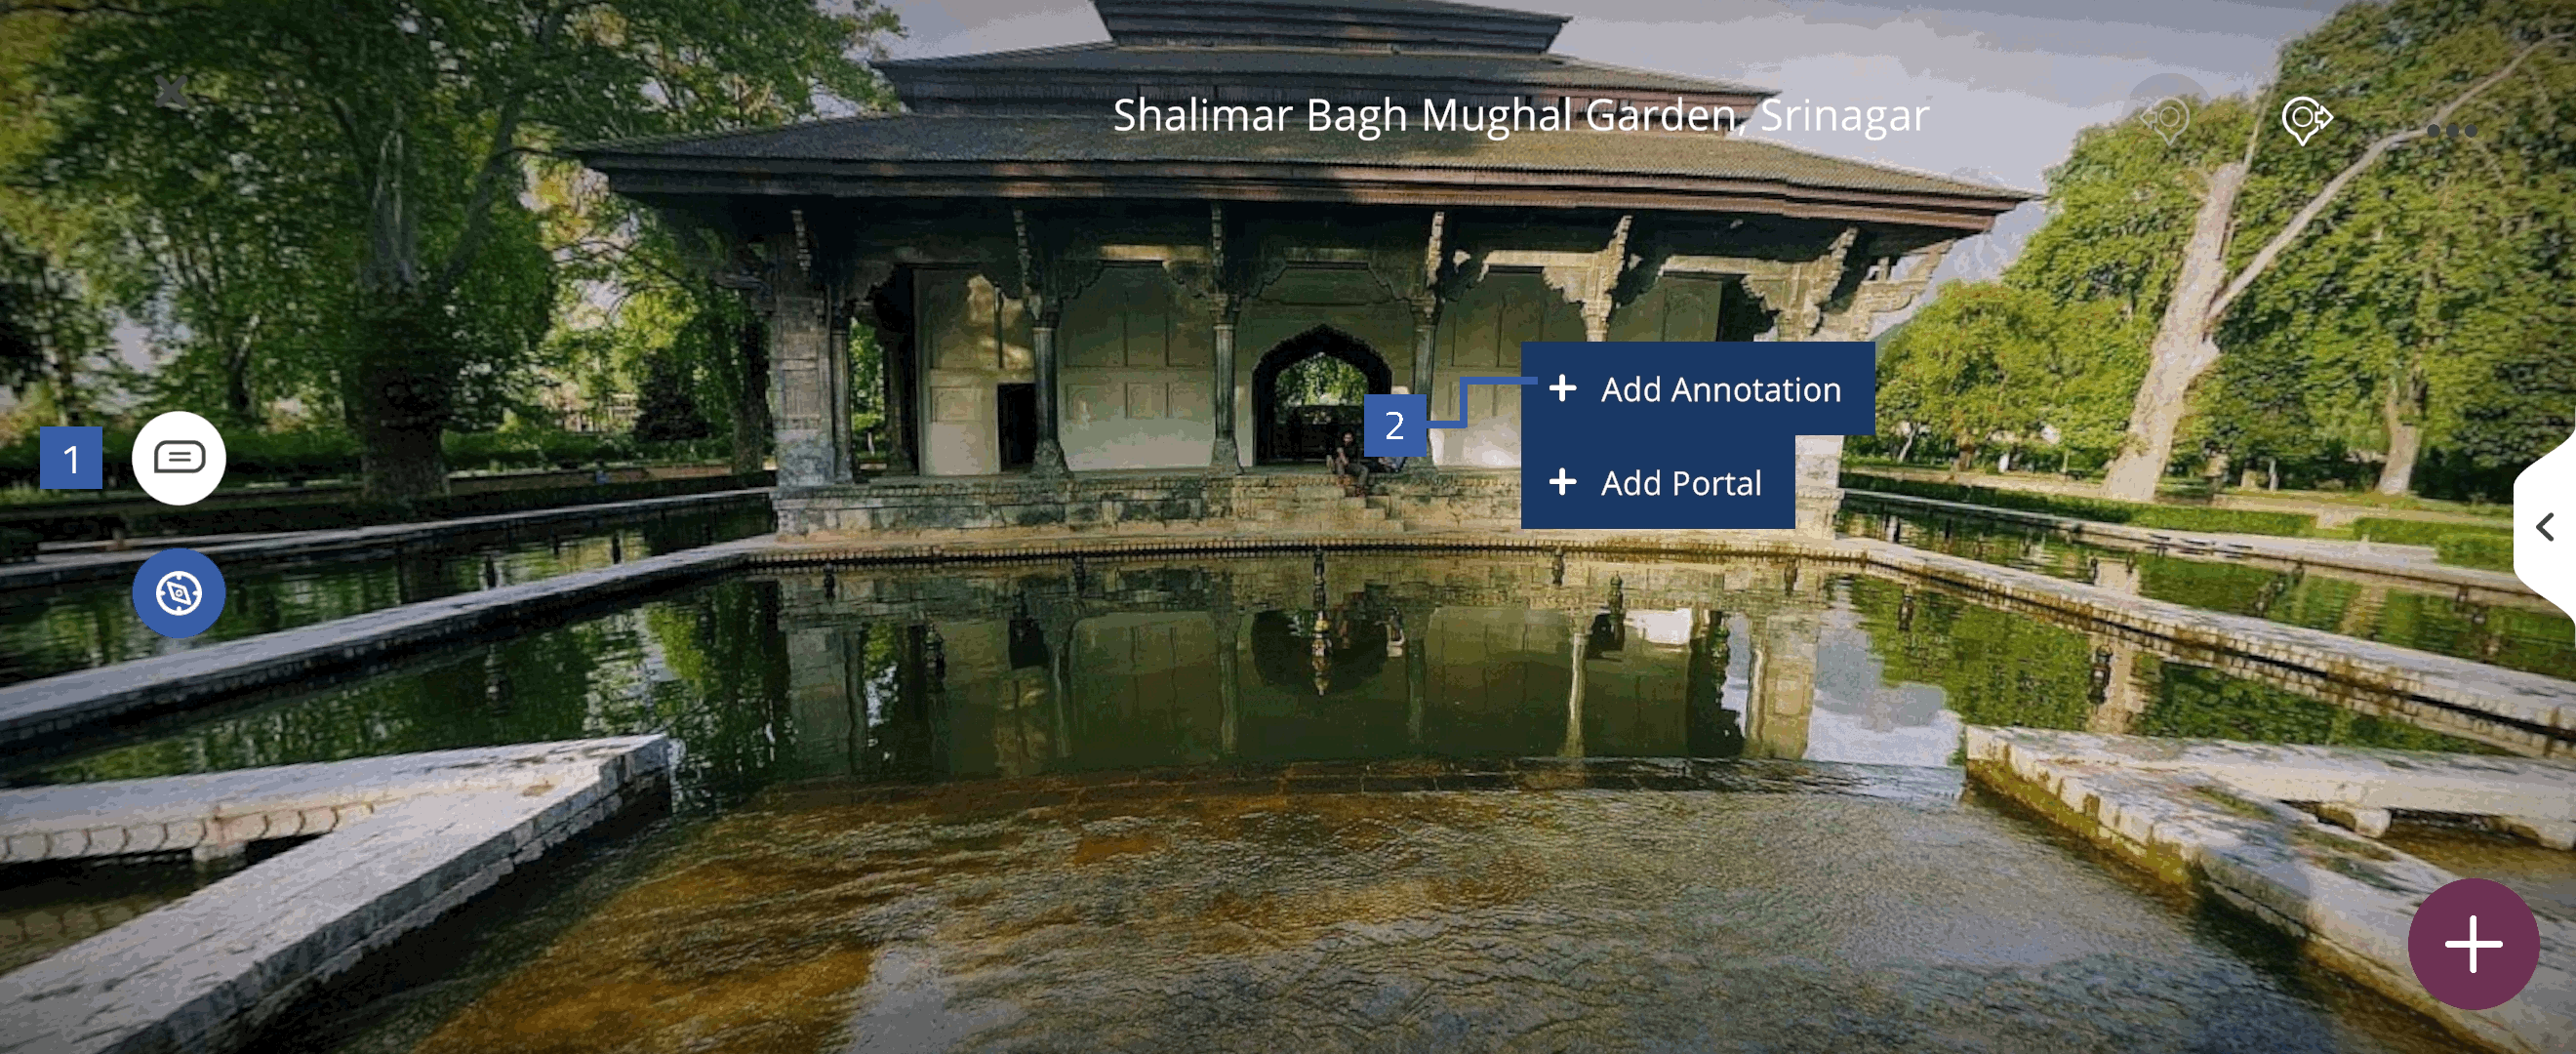
Annotations
 : view descriptions, images and videos in the 360 scene
Annotations
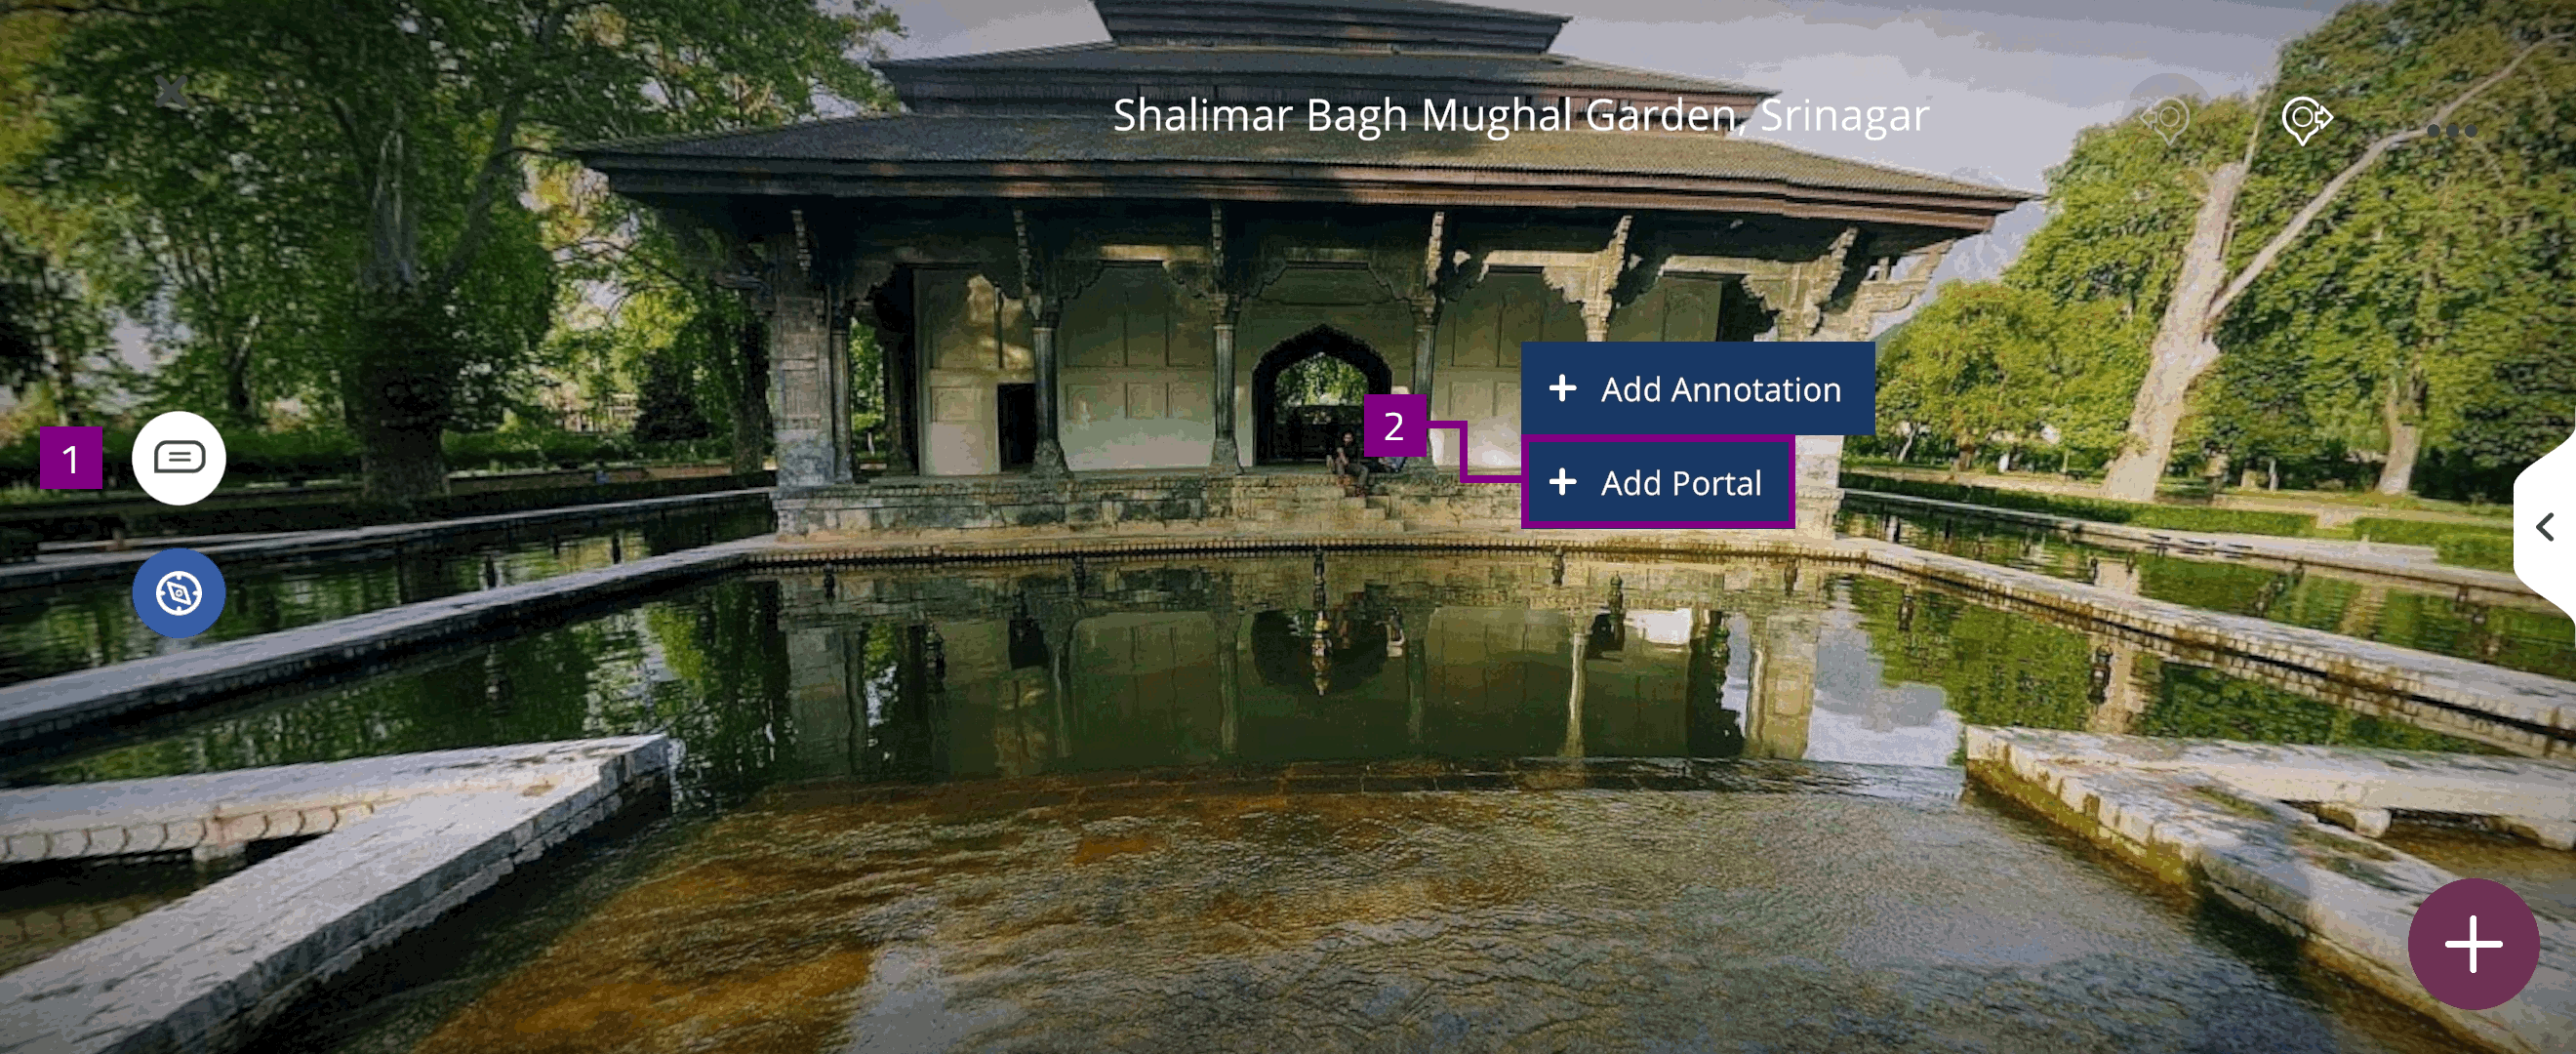
You can create or modify annotations  used in the Xperience.
Select an existing annotation to:
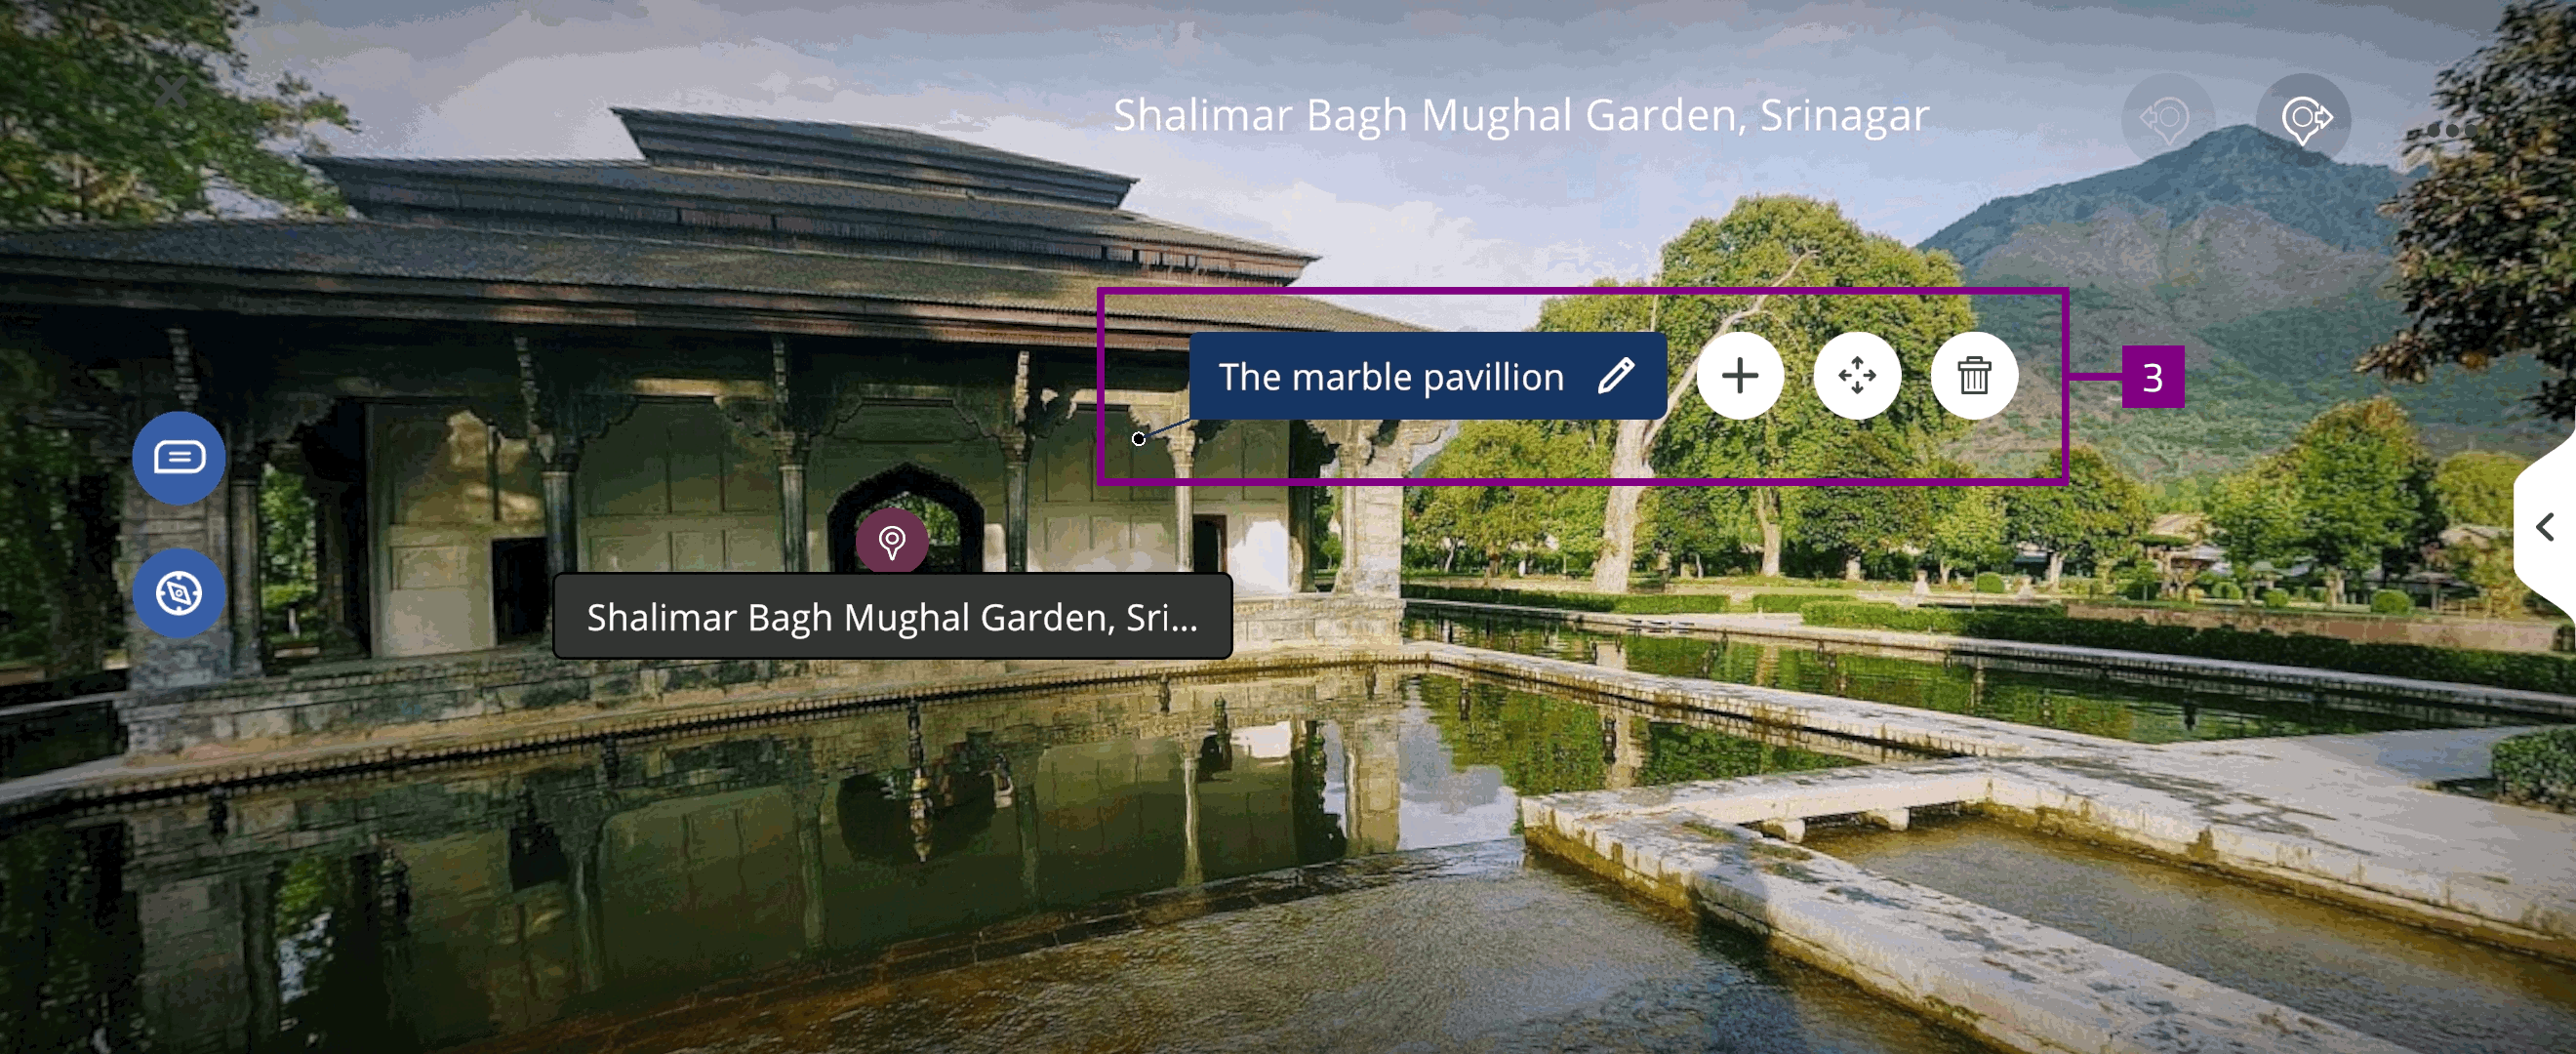
Add activity
You can create either annotation specific or global activities for the 360 Xperience.
Annotation specific - activity associated with specific annotation
Global - activity not associated with an annotation
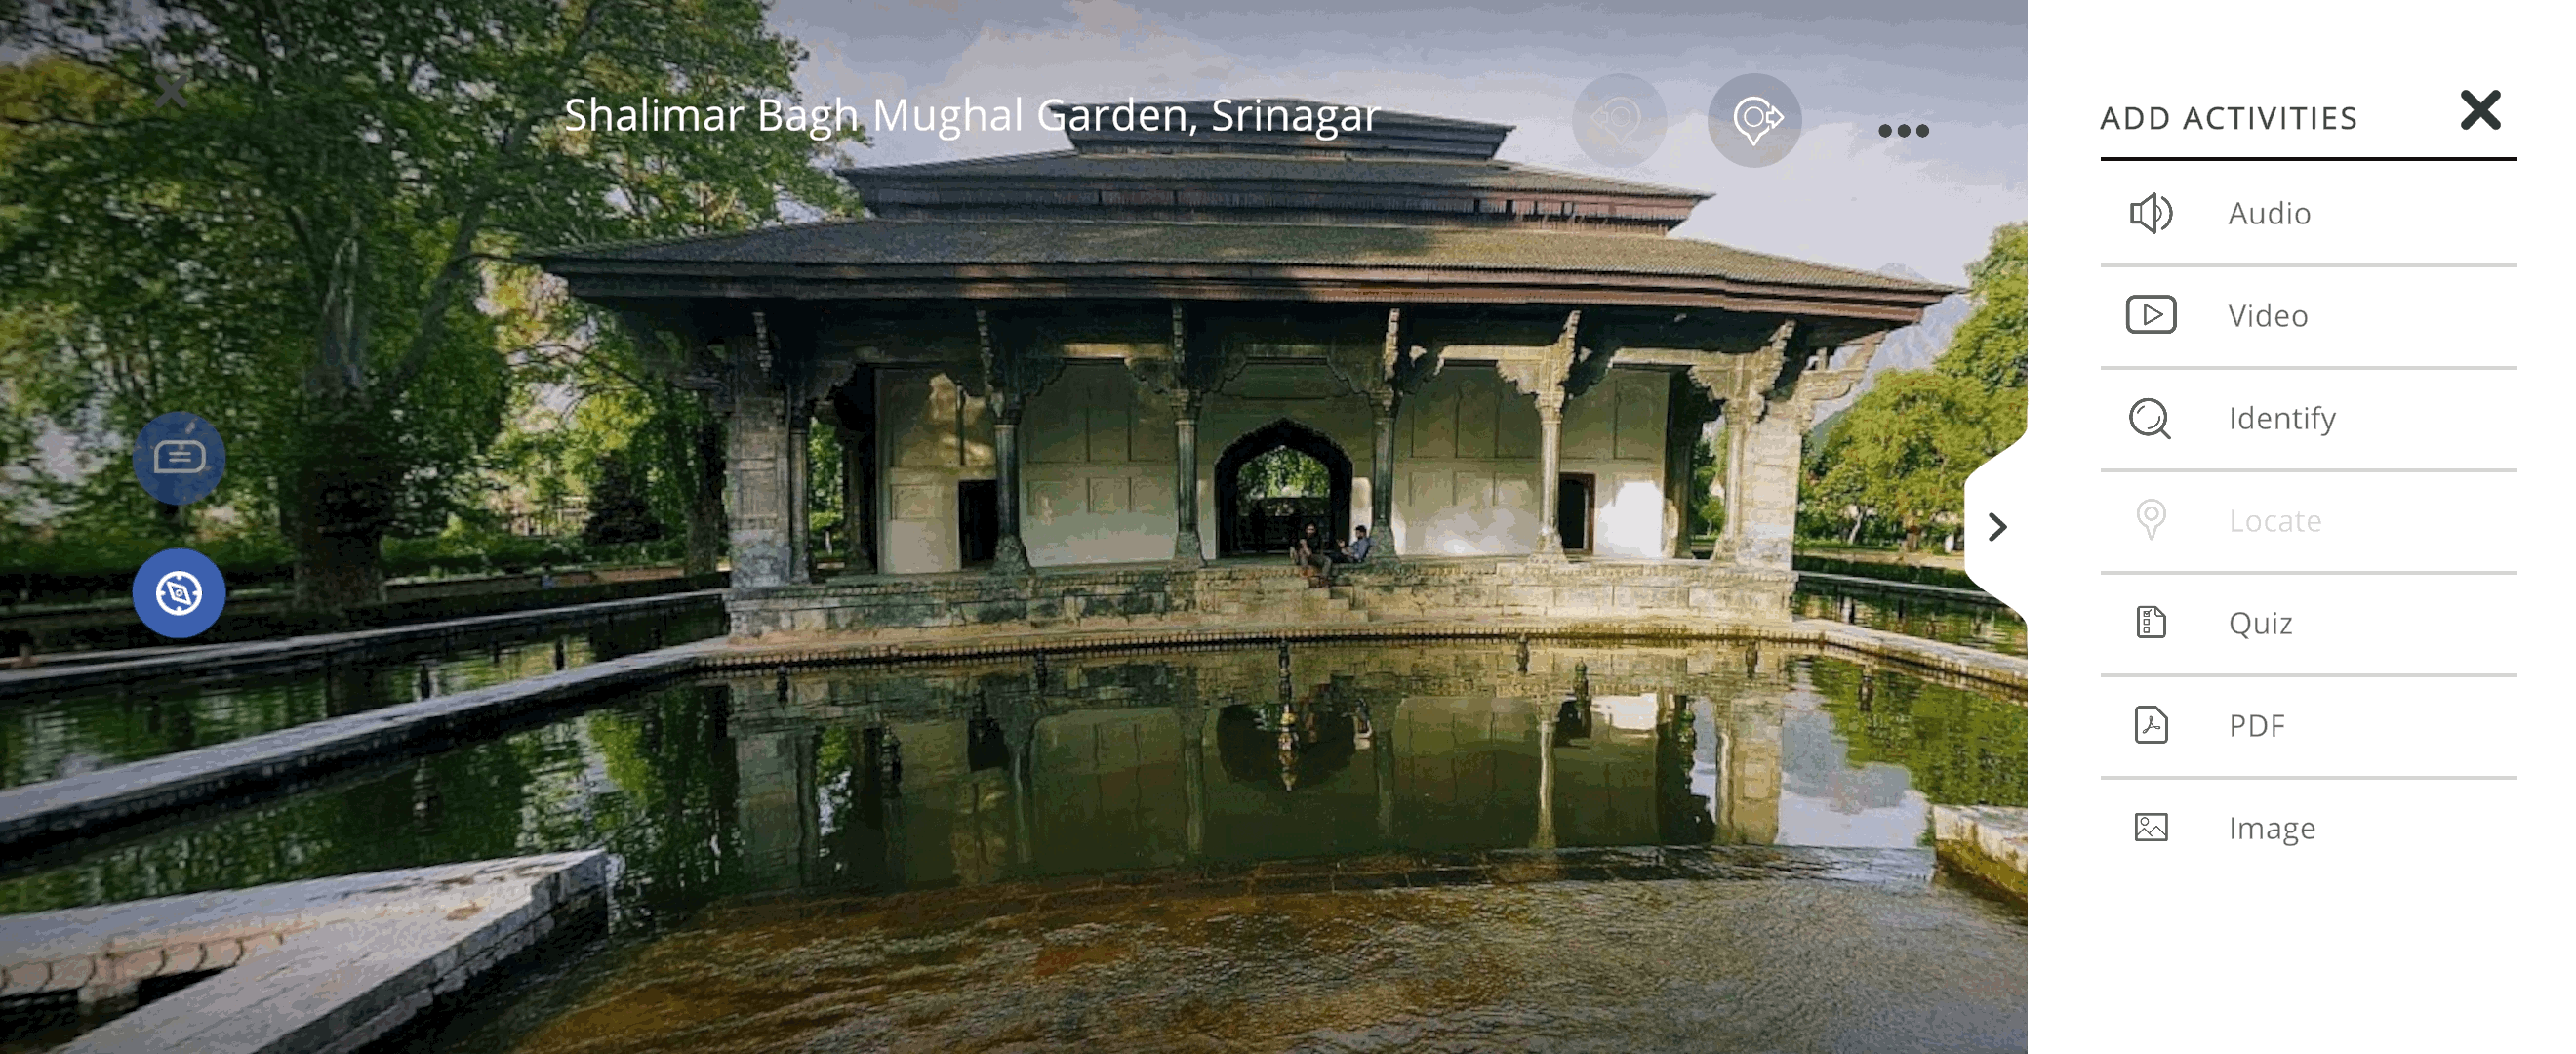
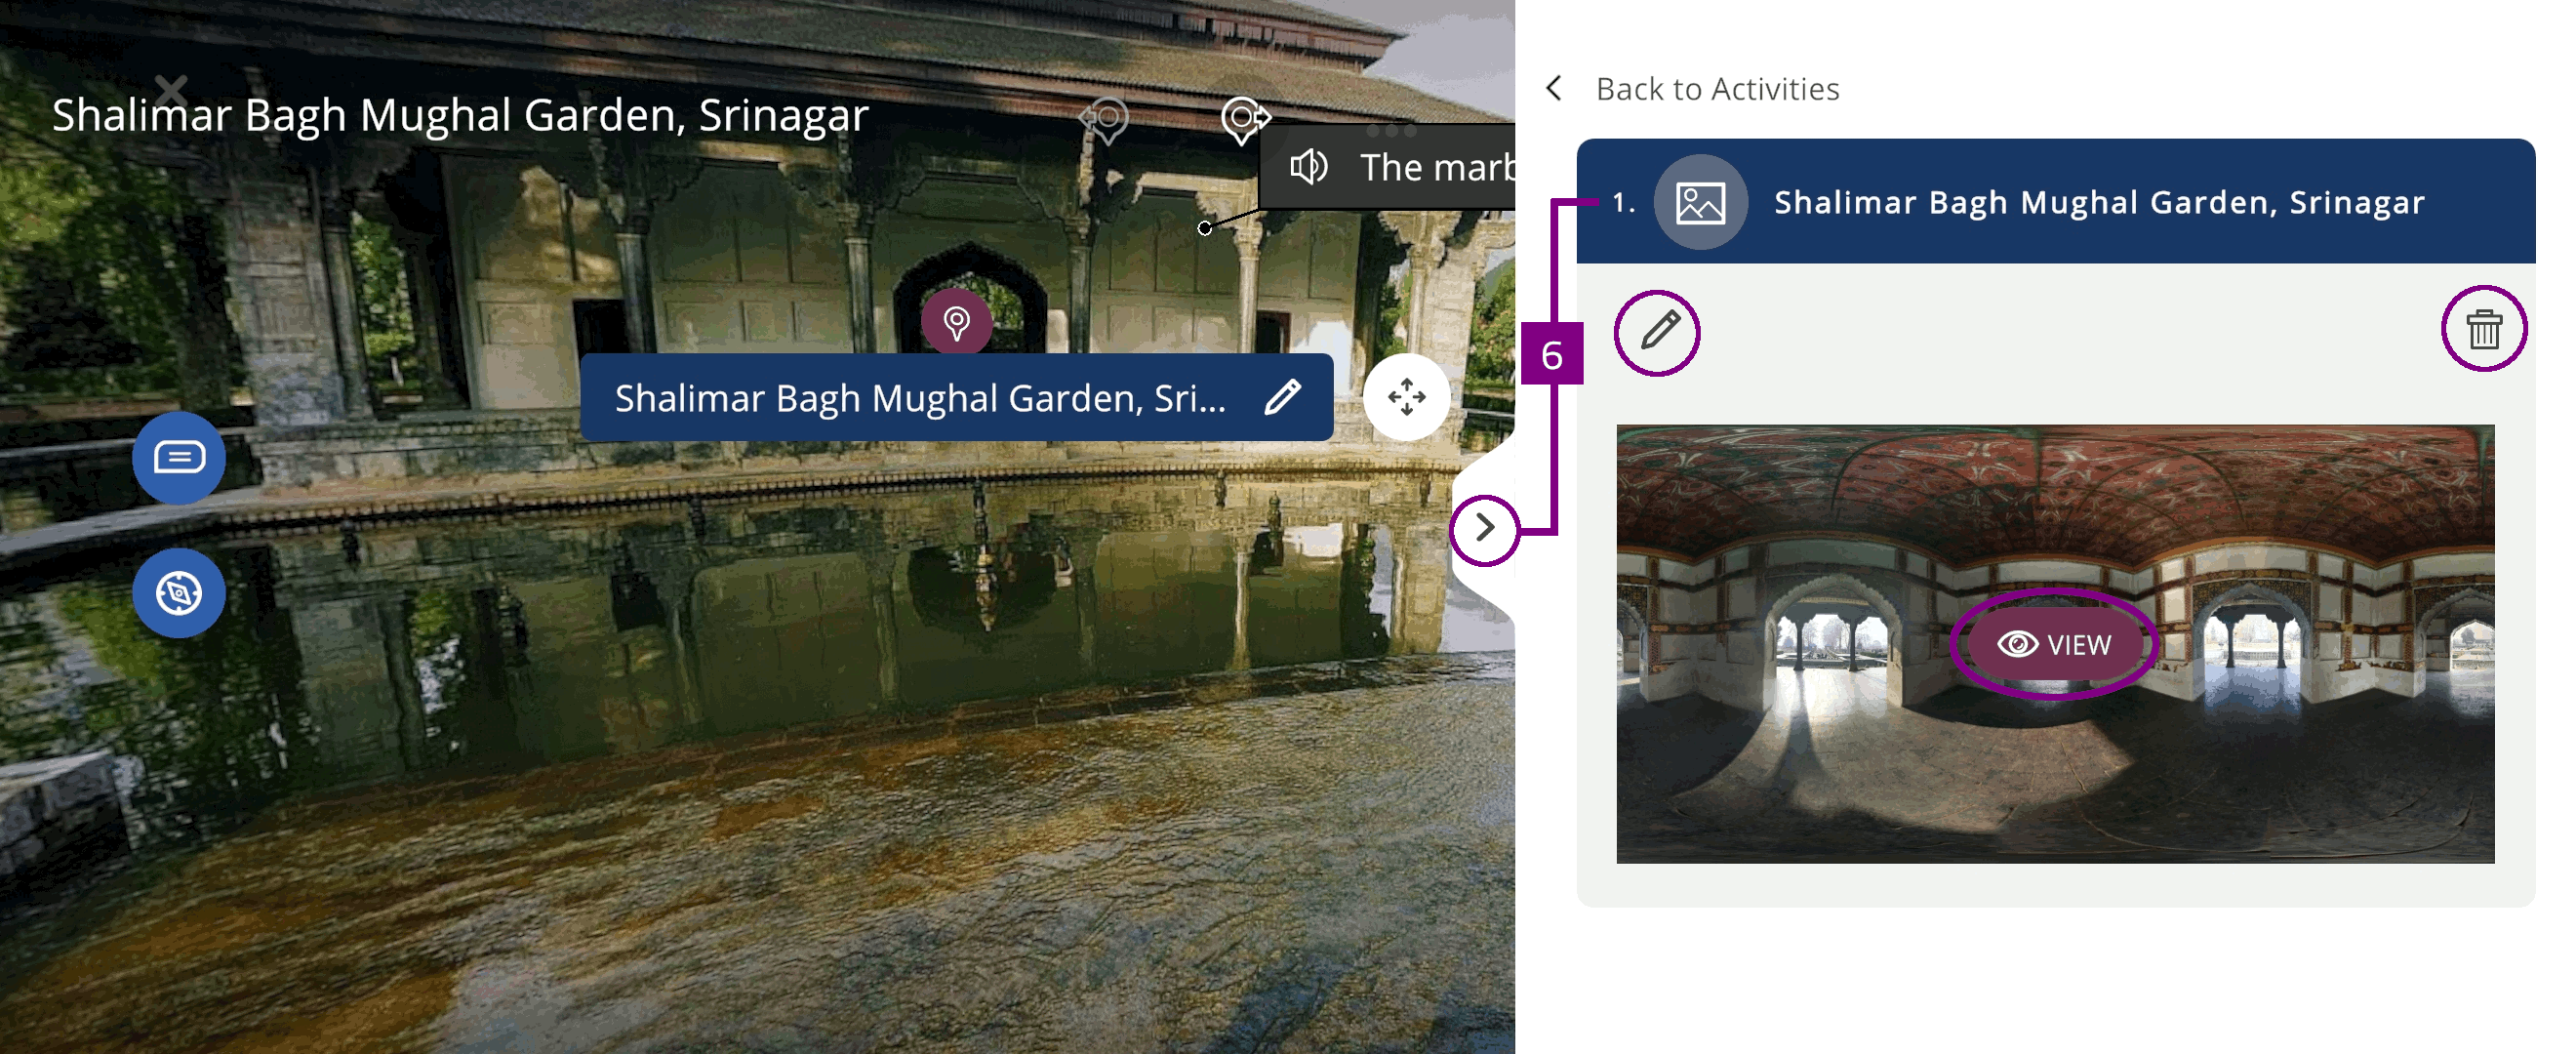
Activity pane
The Activity pane displays activities created for the Xperience. In the activity pane you can view, edit  , and delete
  activities.
The icon color indicates activity type:
Activity sequence
You can rearrange the sequence of the added activities in the activity pane:
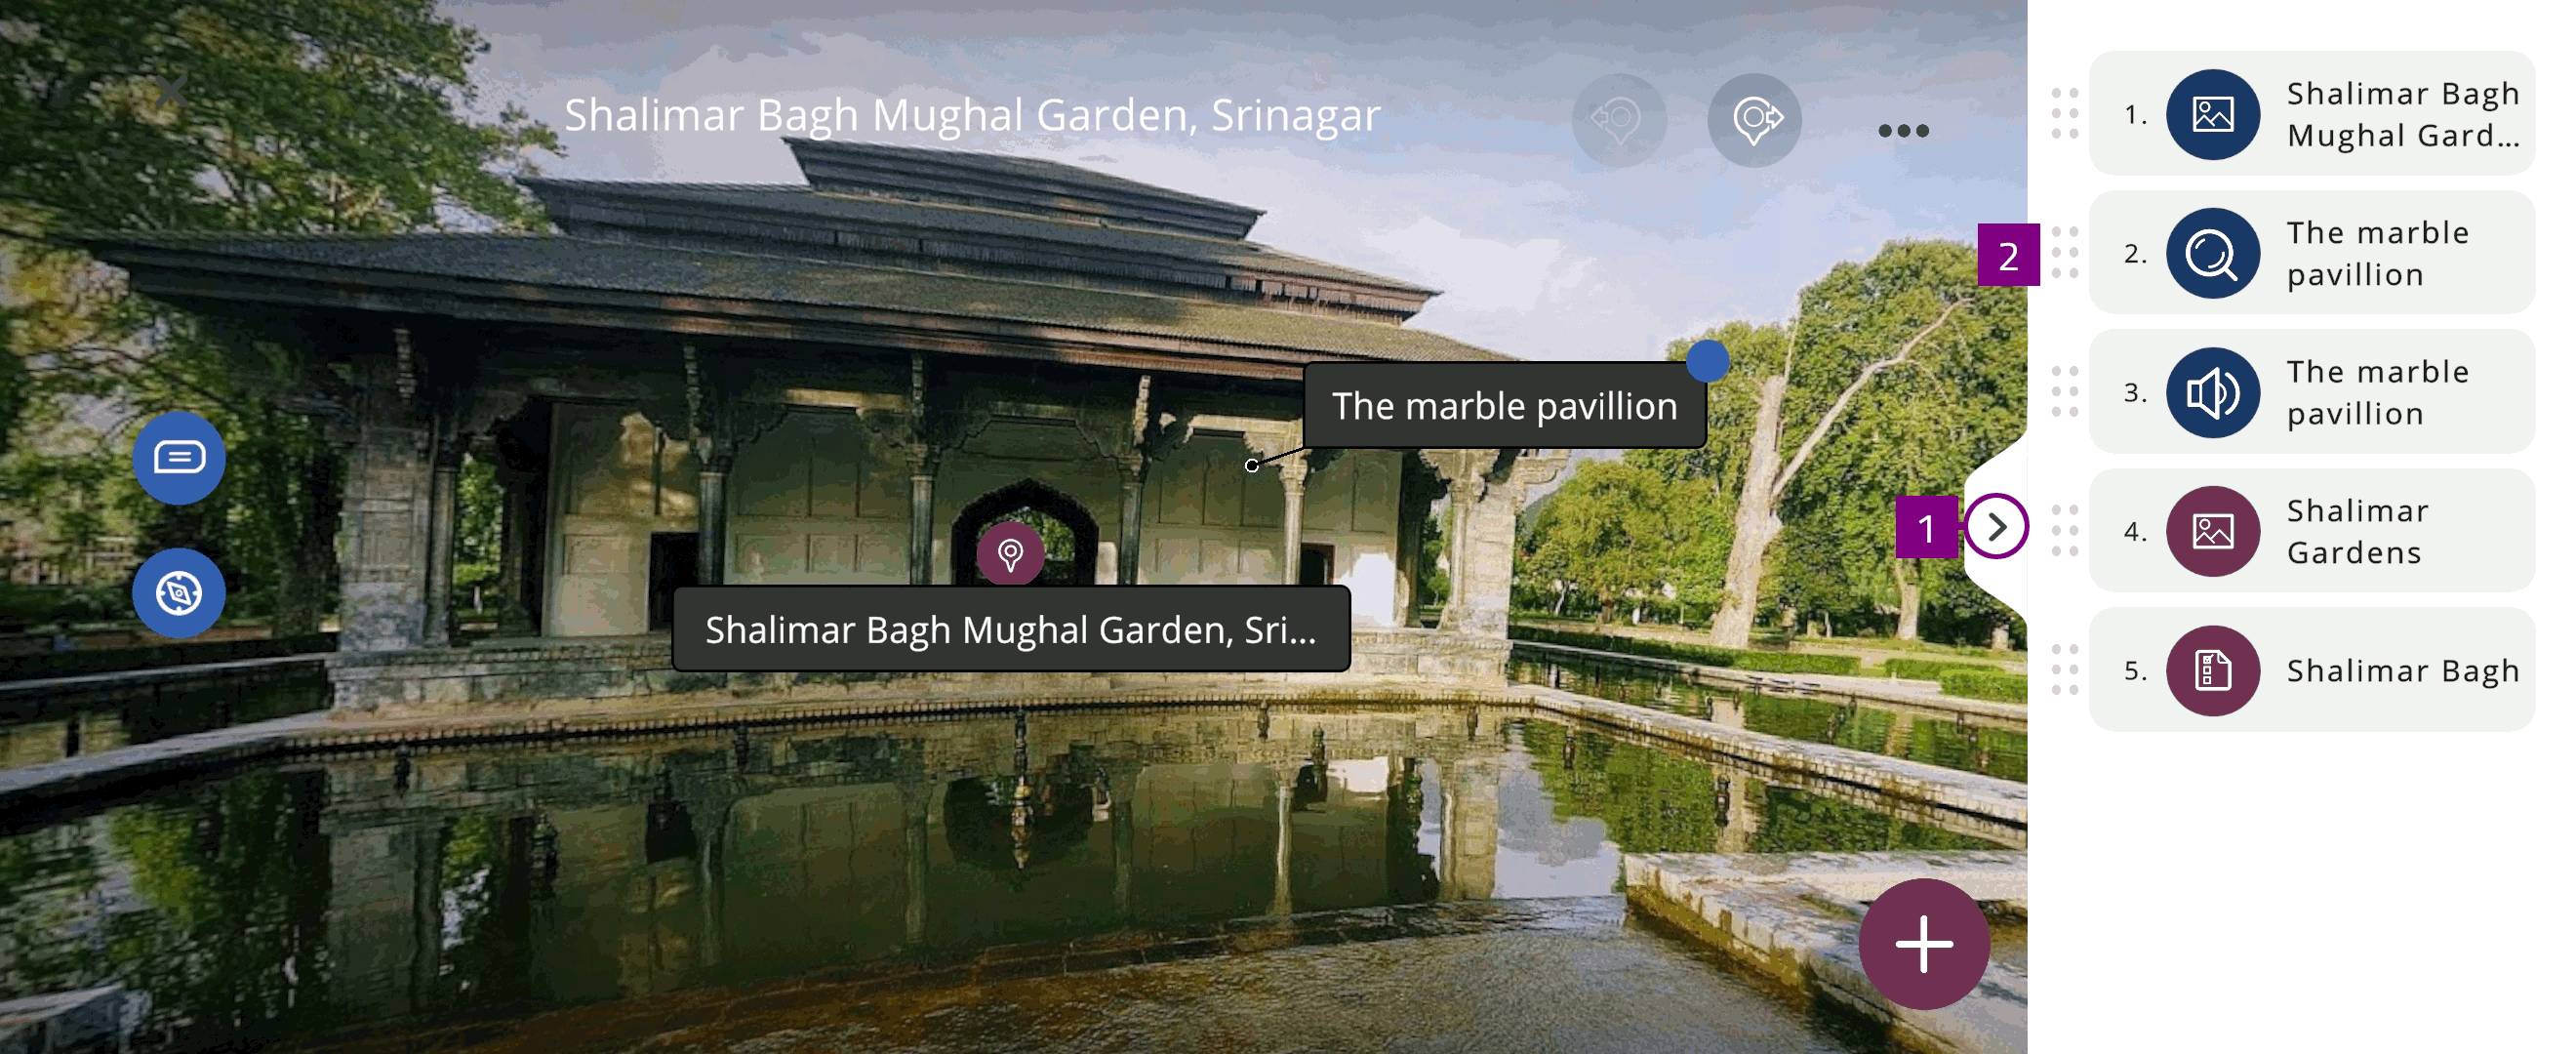
Audio
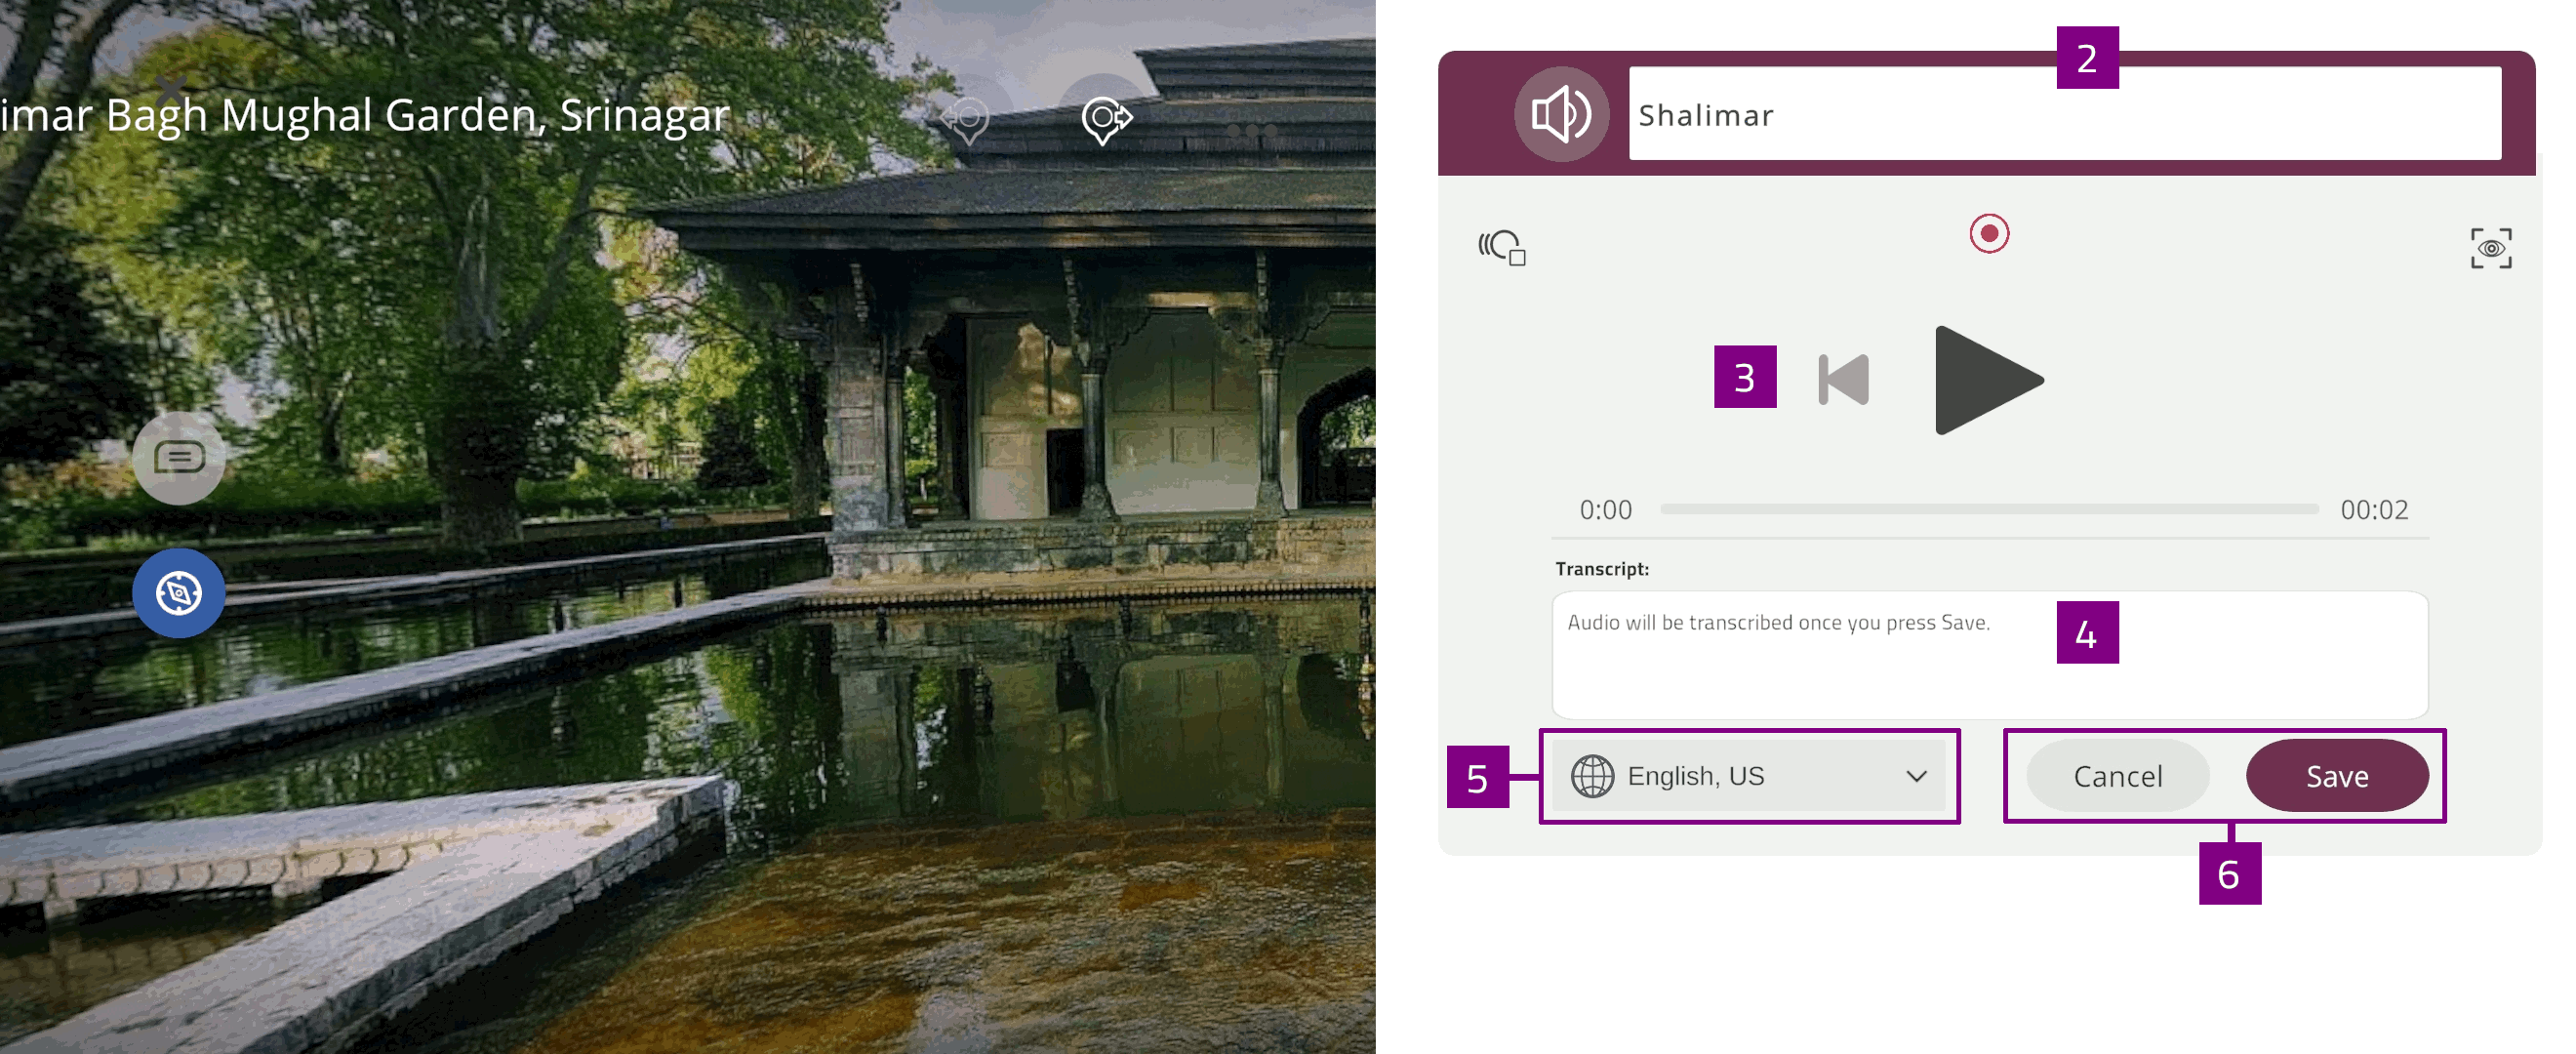
You can create or upload Audio  content to play during the Xperience.
-
 : Add Text-to-speech
Type the name of the activity
Select the text box to edit transcription
Note
Audio is transcribed after saving the recording
Select Language
Select SAVE, or select CANCEL to discard changes
Text-to-speech
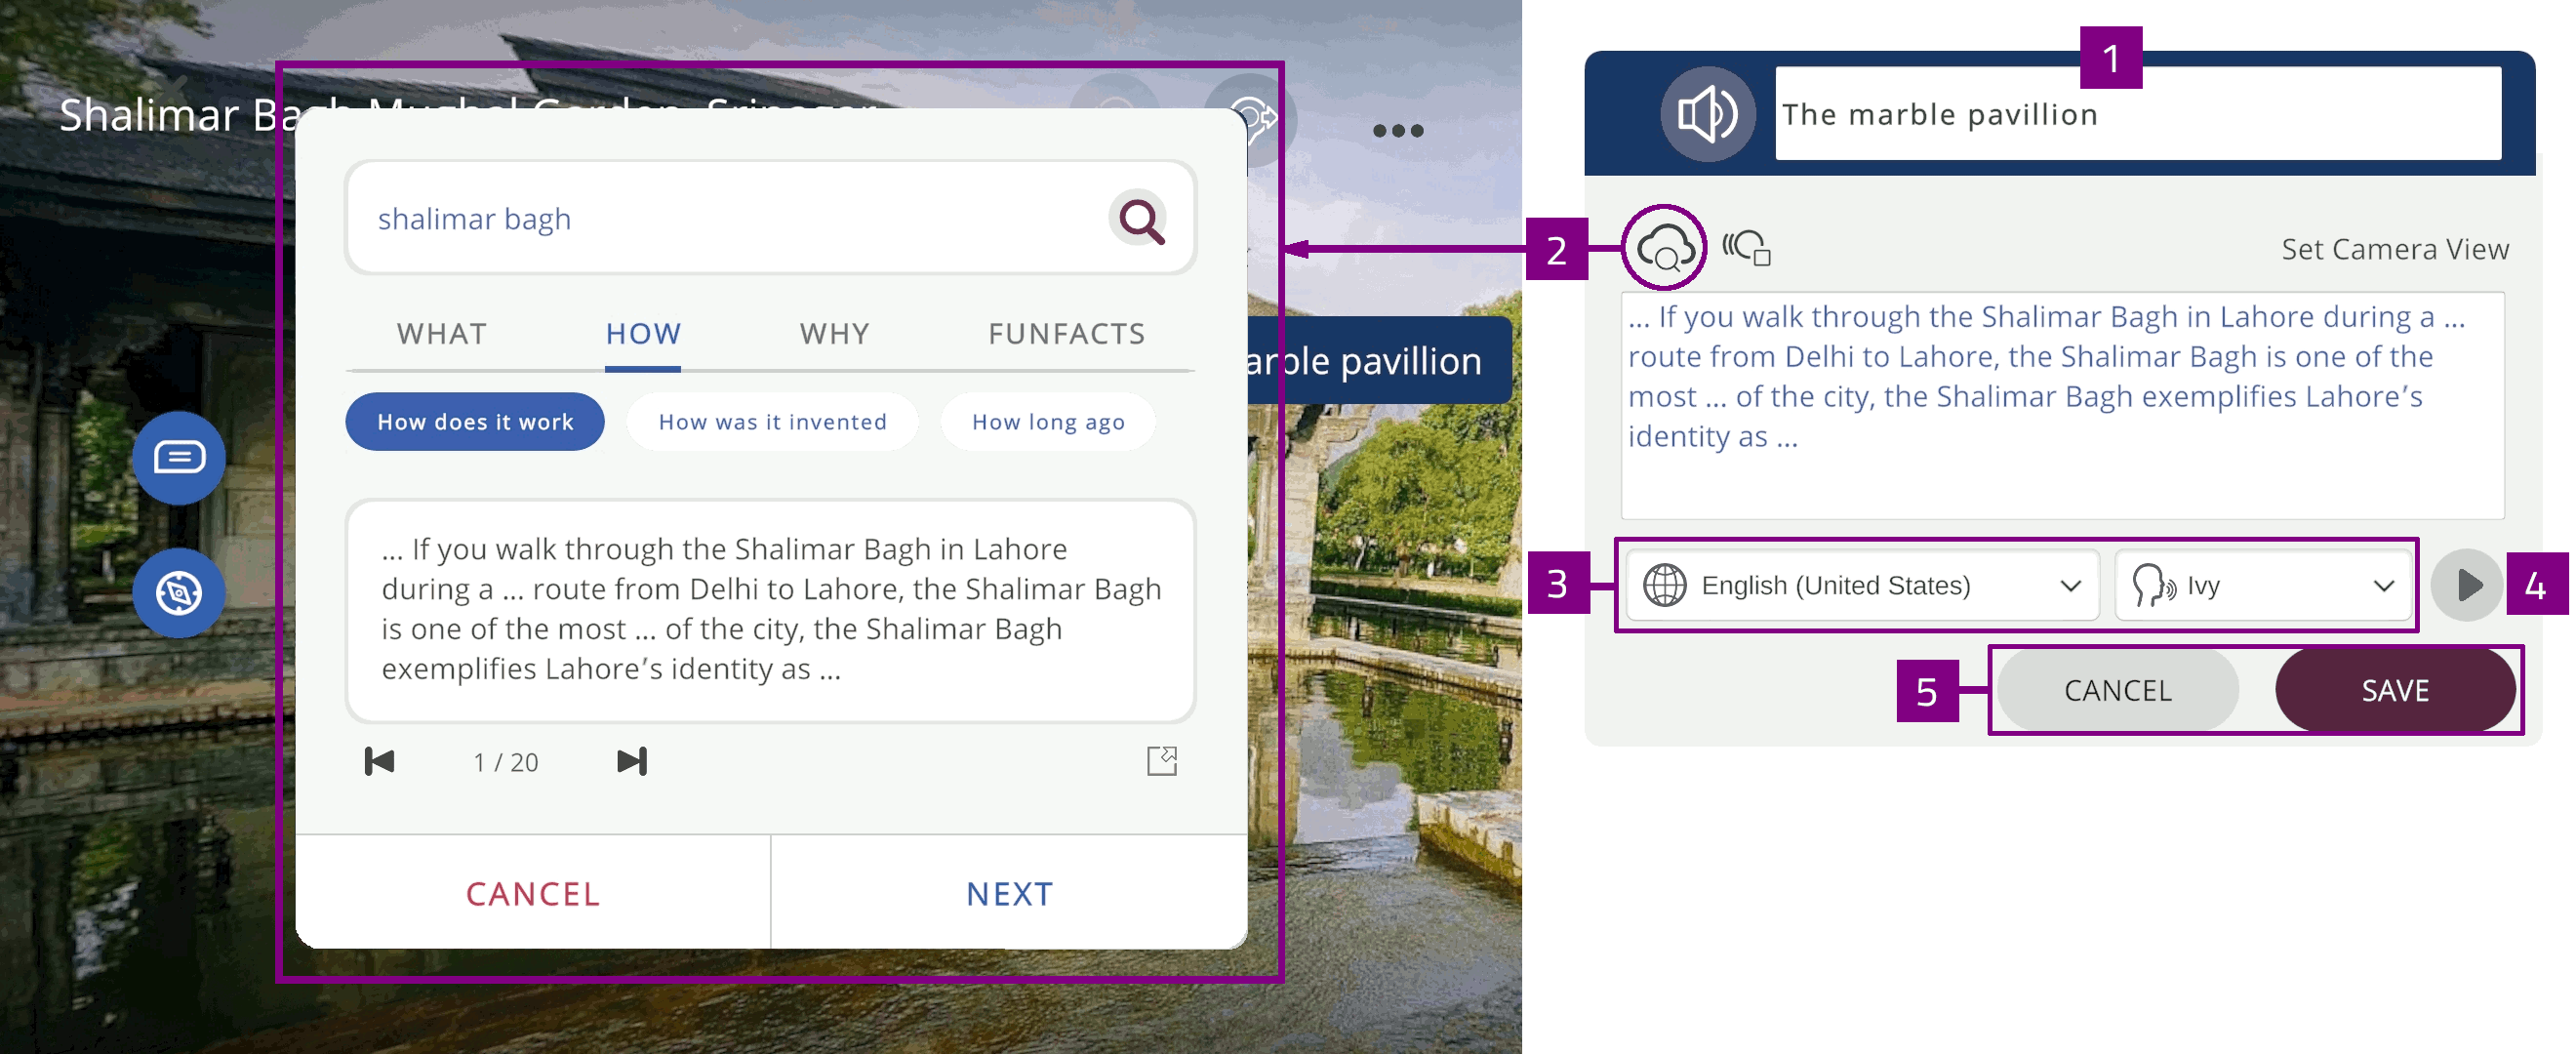
You can use Text-to-Speech  to convert text into audio content.
Type the name of the activity
Select Search
 to search for relevant content
Use one of the relevant keywords: What, How, Why, or Fun Facts
Select the content you want to use
Select NEXT to use the content
Select language and voice to convert the content to voice annotation
Select SAVE, or select CANCEL to discard changes
Video
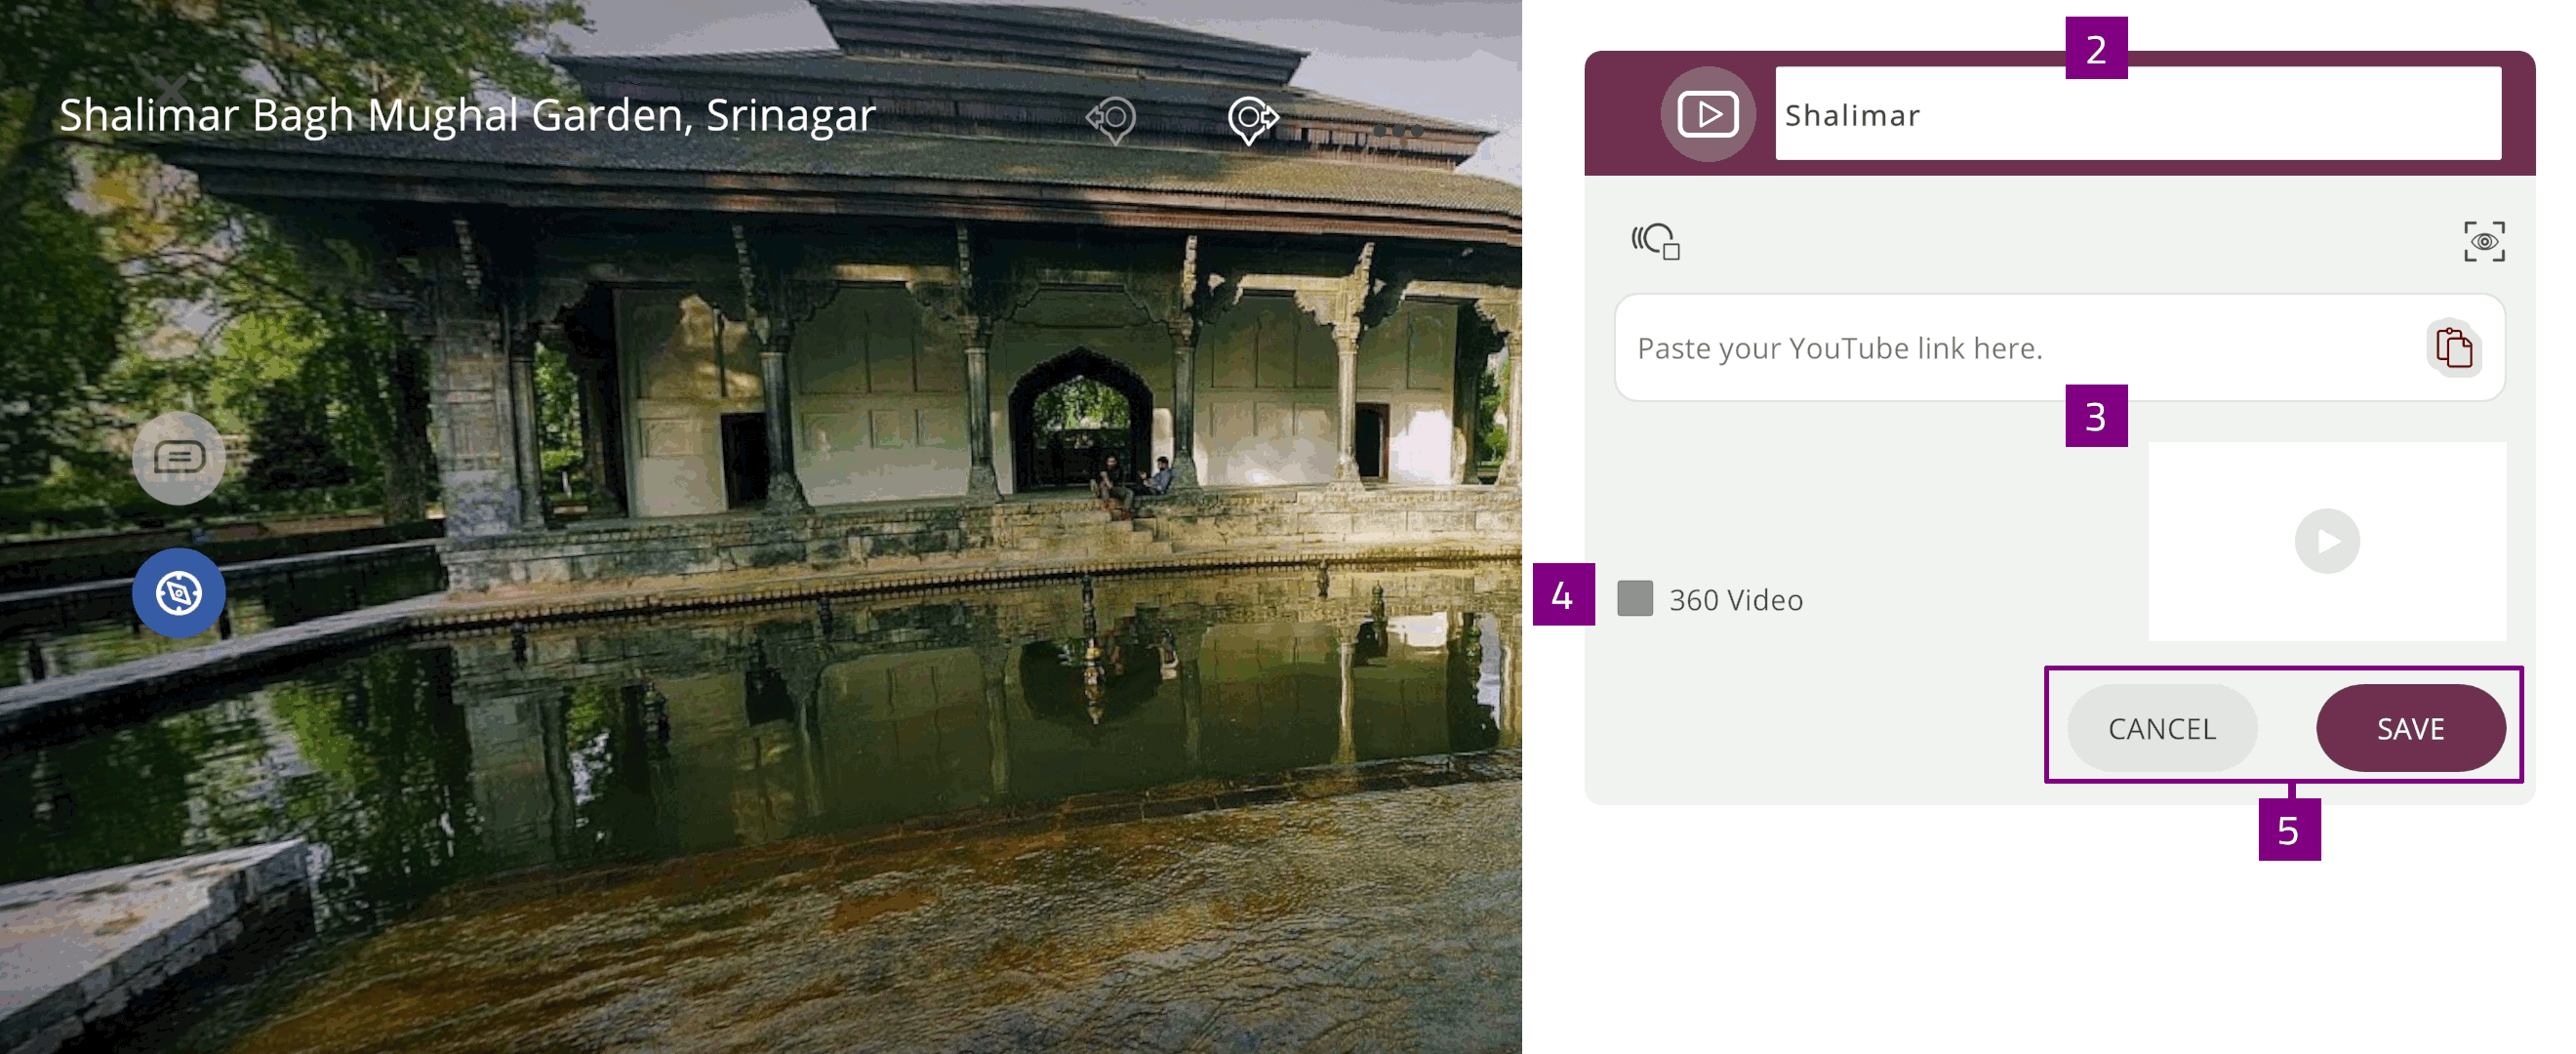
You can upload or link Video  content to display in the Xperience.
Type the name of the activity
Paste YouTube link or URL to your video
A preview of the video is displayed
Select the checkbox to indicate if the content is a 360 YouTube video
Select SAVE, or select CANCEL to discard changes
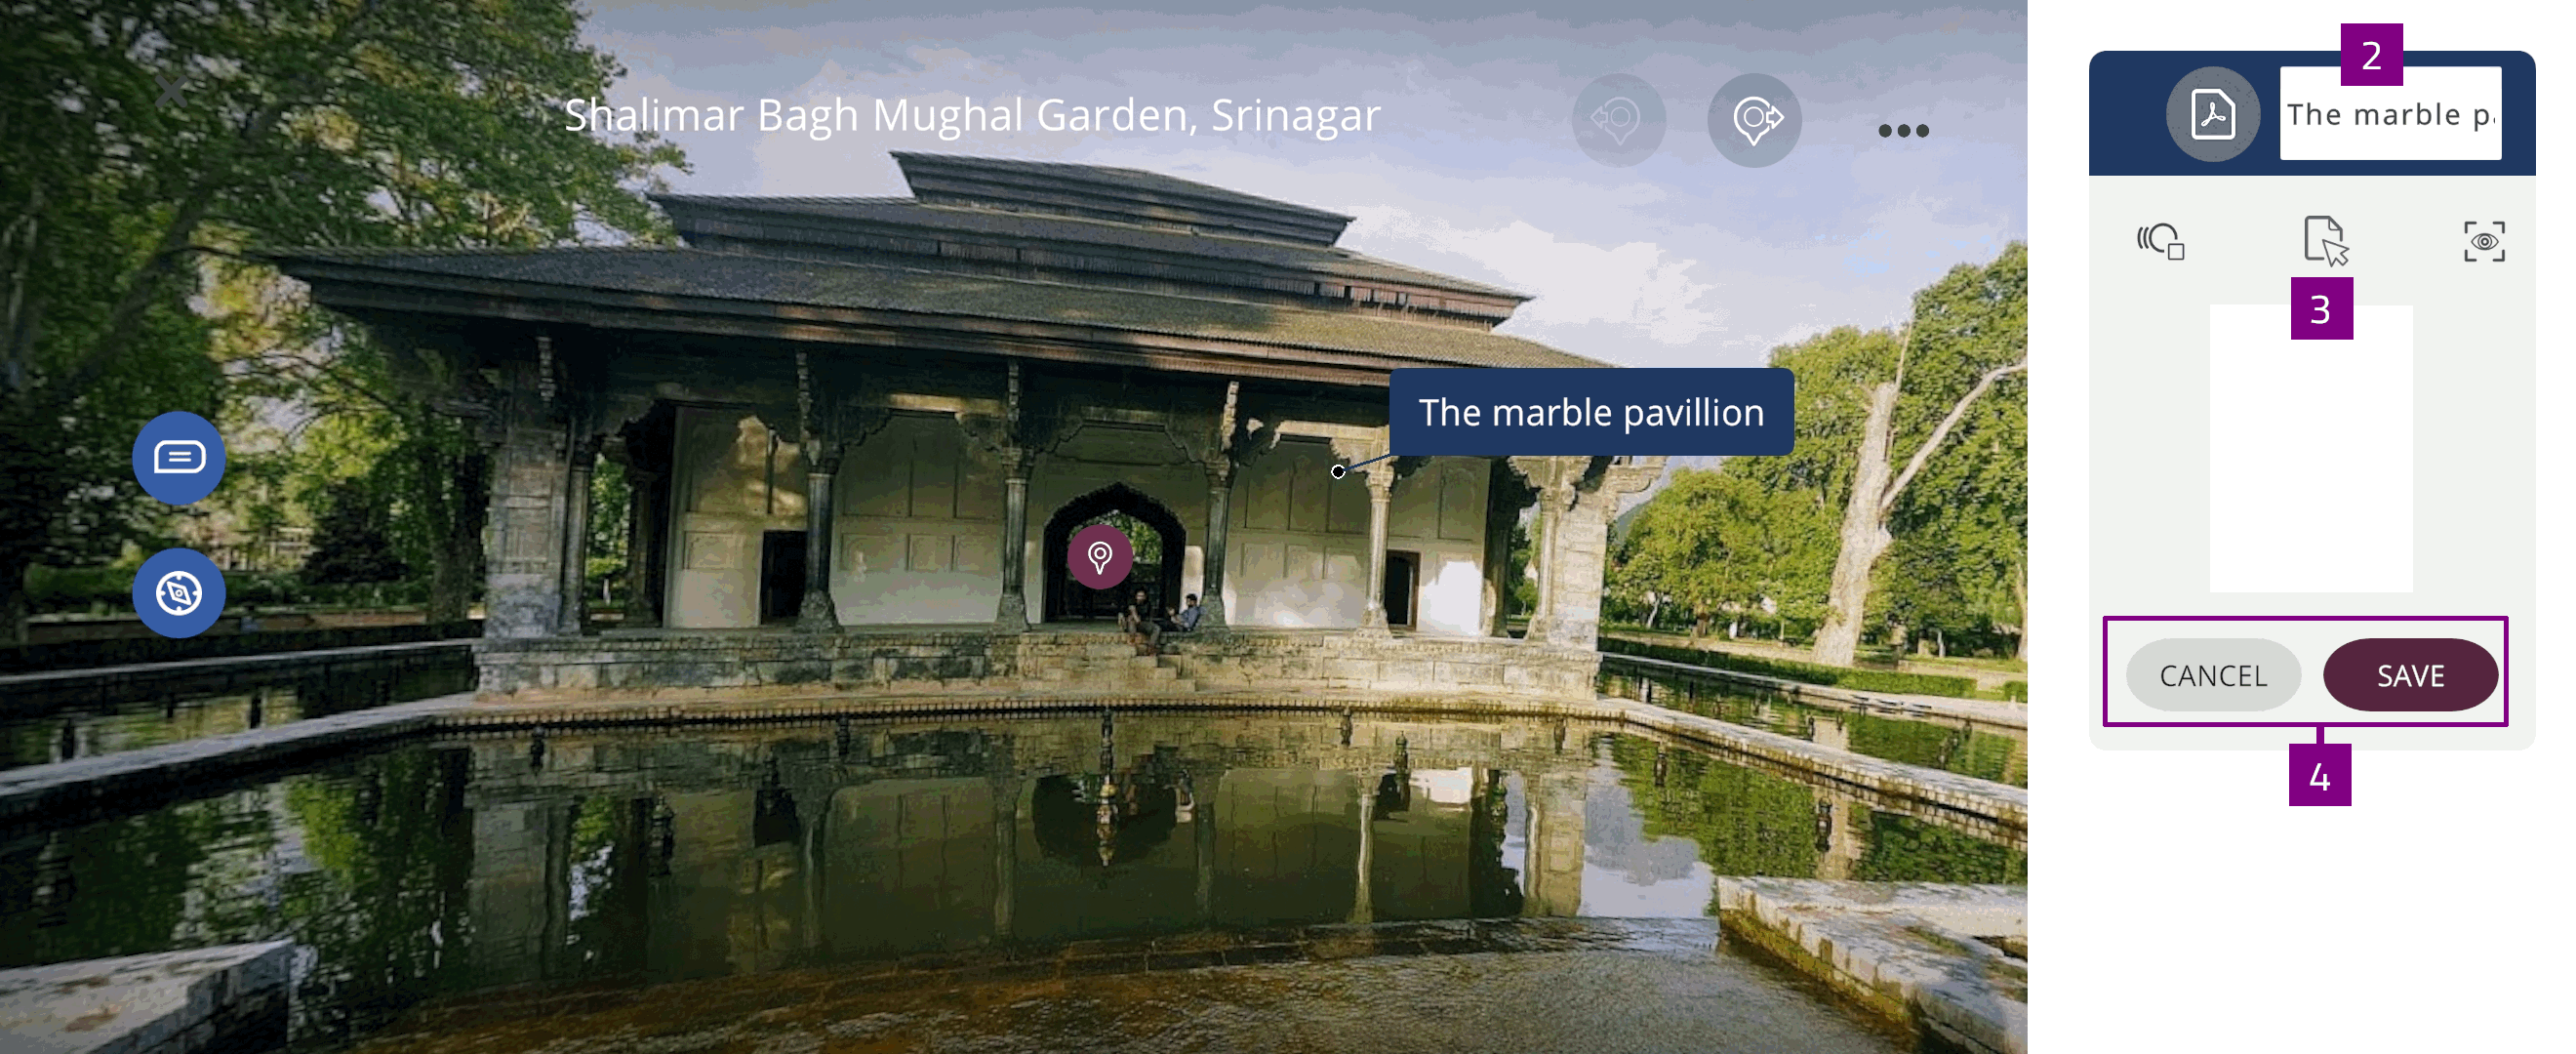
PDF
You can upload PDF  files from your device to display in the Xperience.
Select PDF
 and
and  to upload a .pdf file from your device
A preview of the uploaded .pdf file is displayed
Type the name of the activity
Select SAVE, or select CANCEL to discard changes
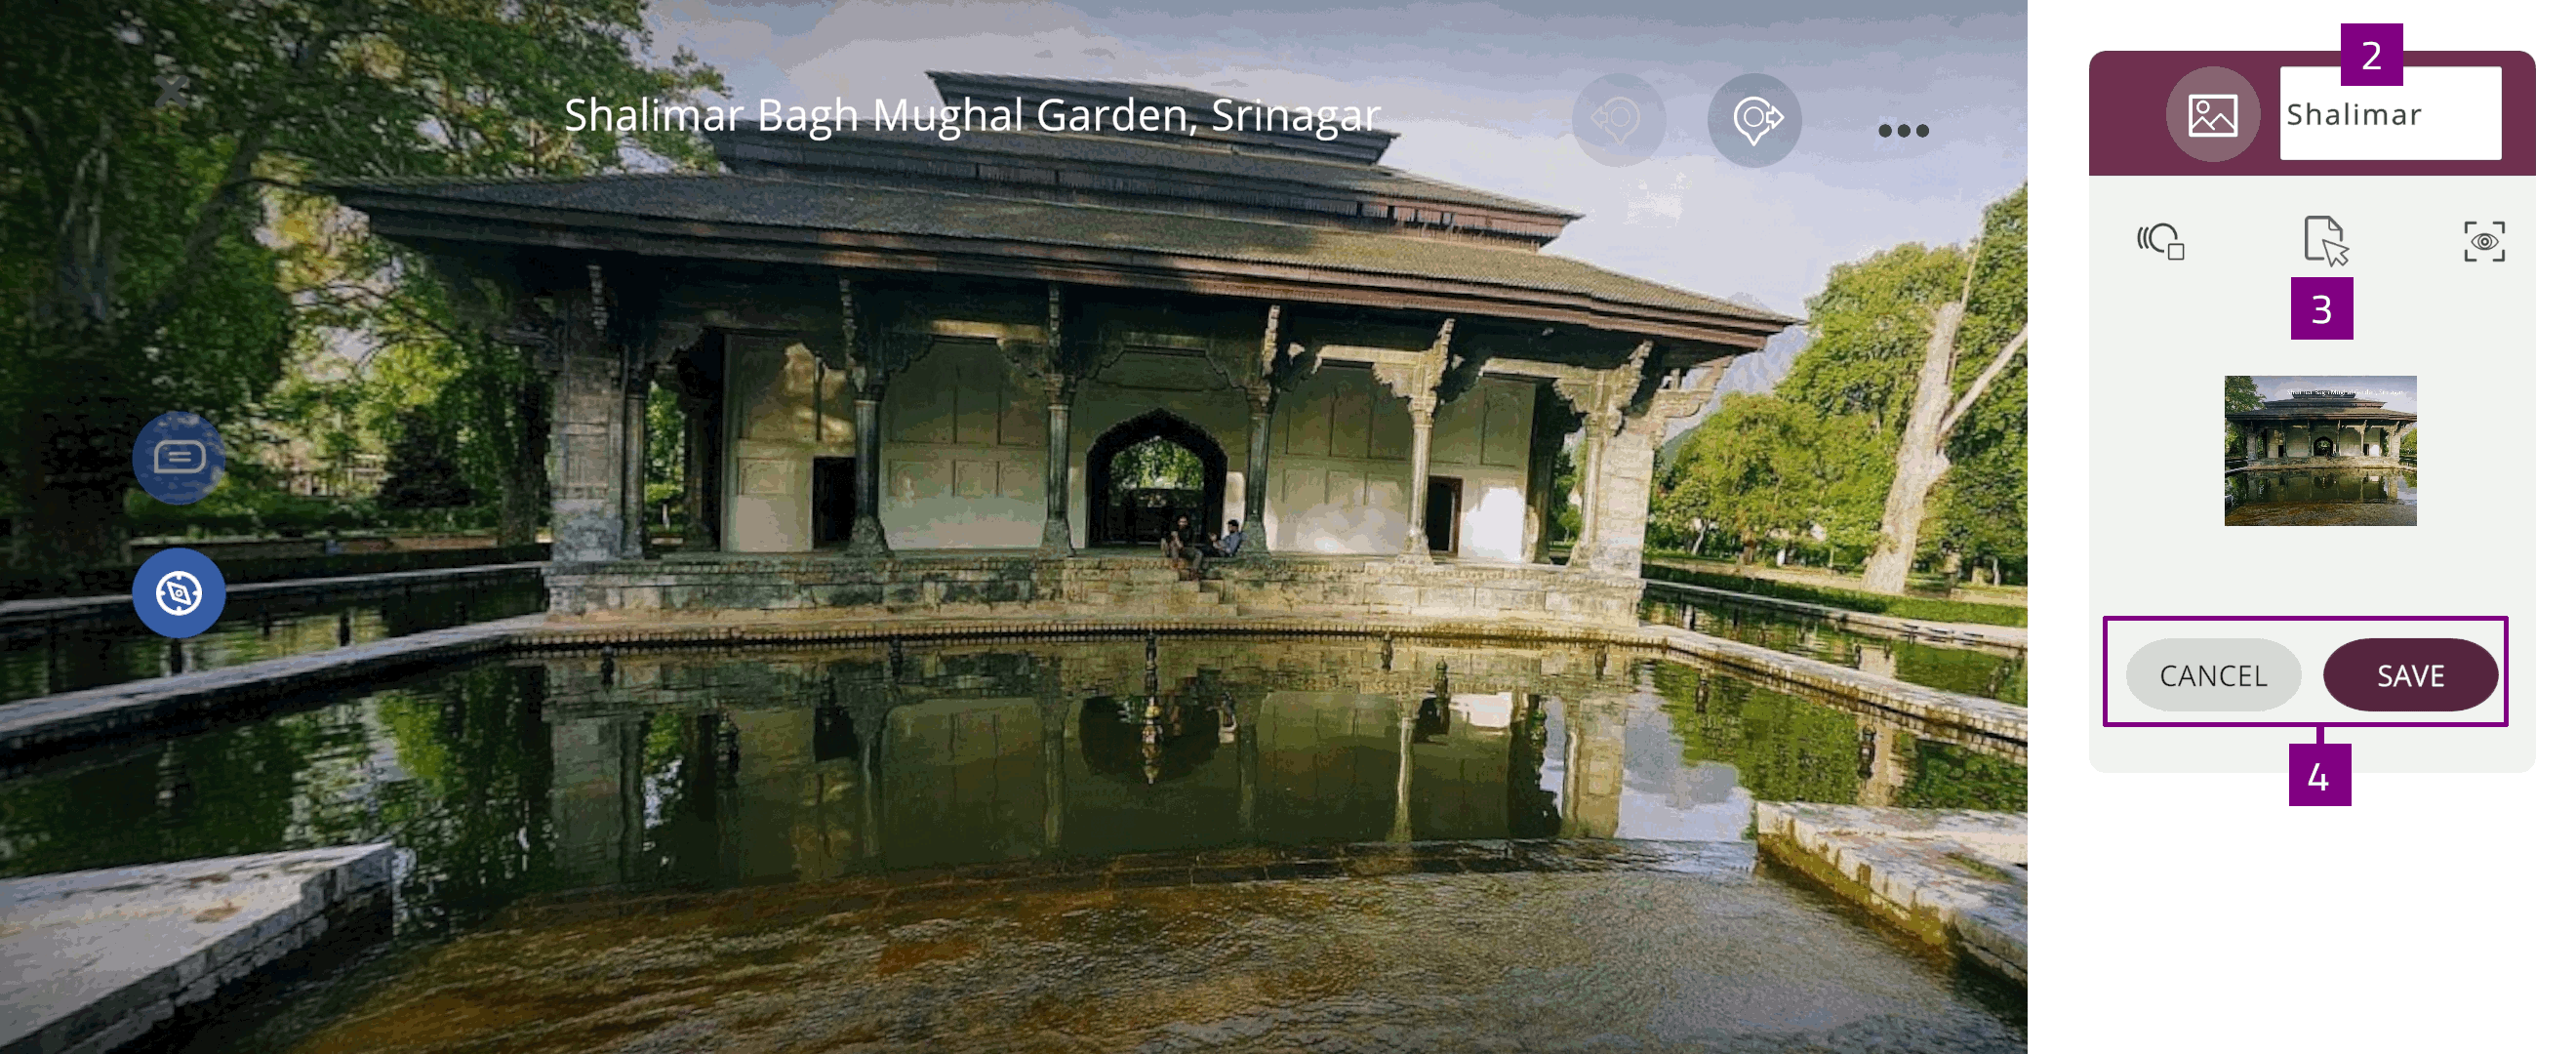
Image
You can upload Image  files from your device to display in the Xperience.
Select Image
 and
and  to upload an image file from your device
A preview of the uploaded image file is displayed
Type the name of the activity
Select SAVE, or select CANCEL to discard changes
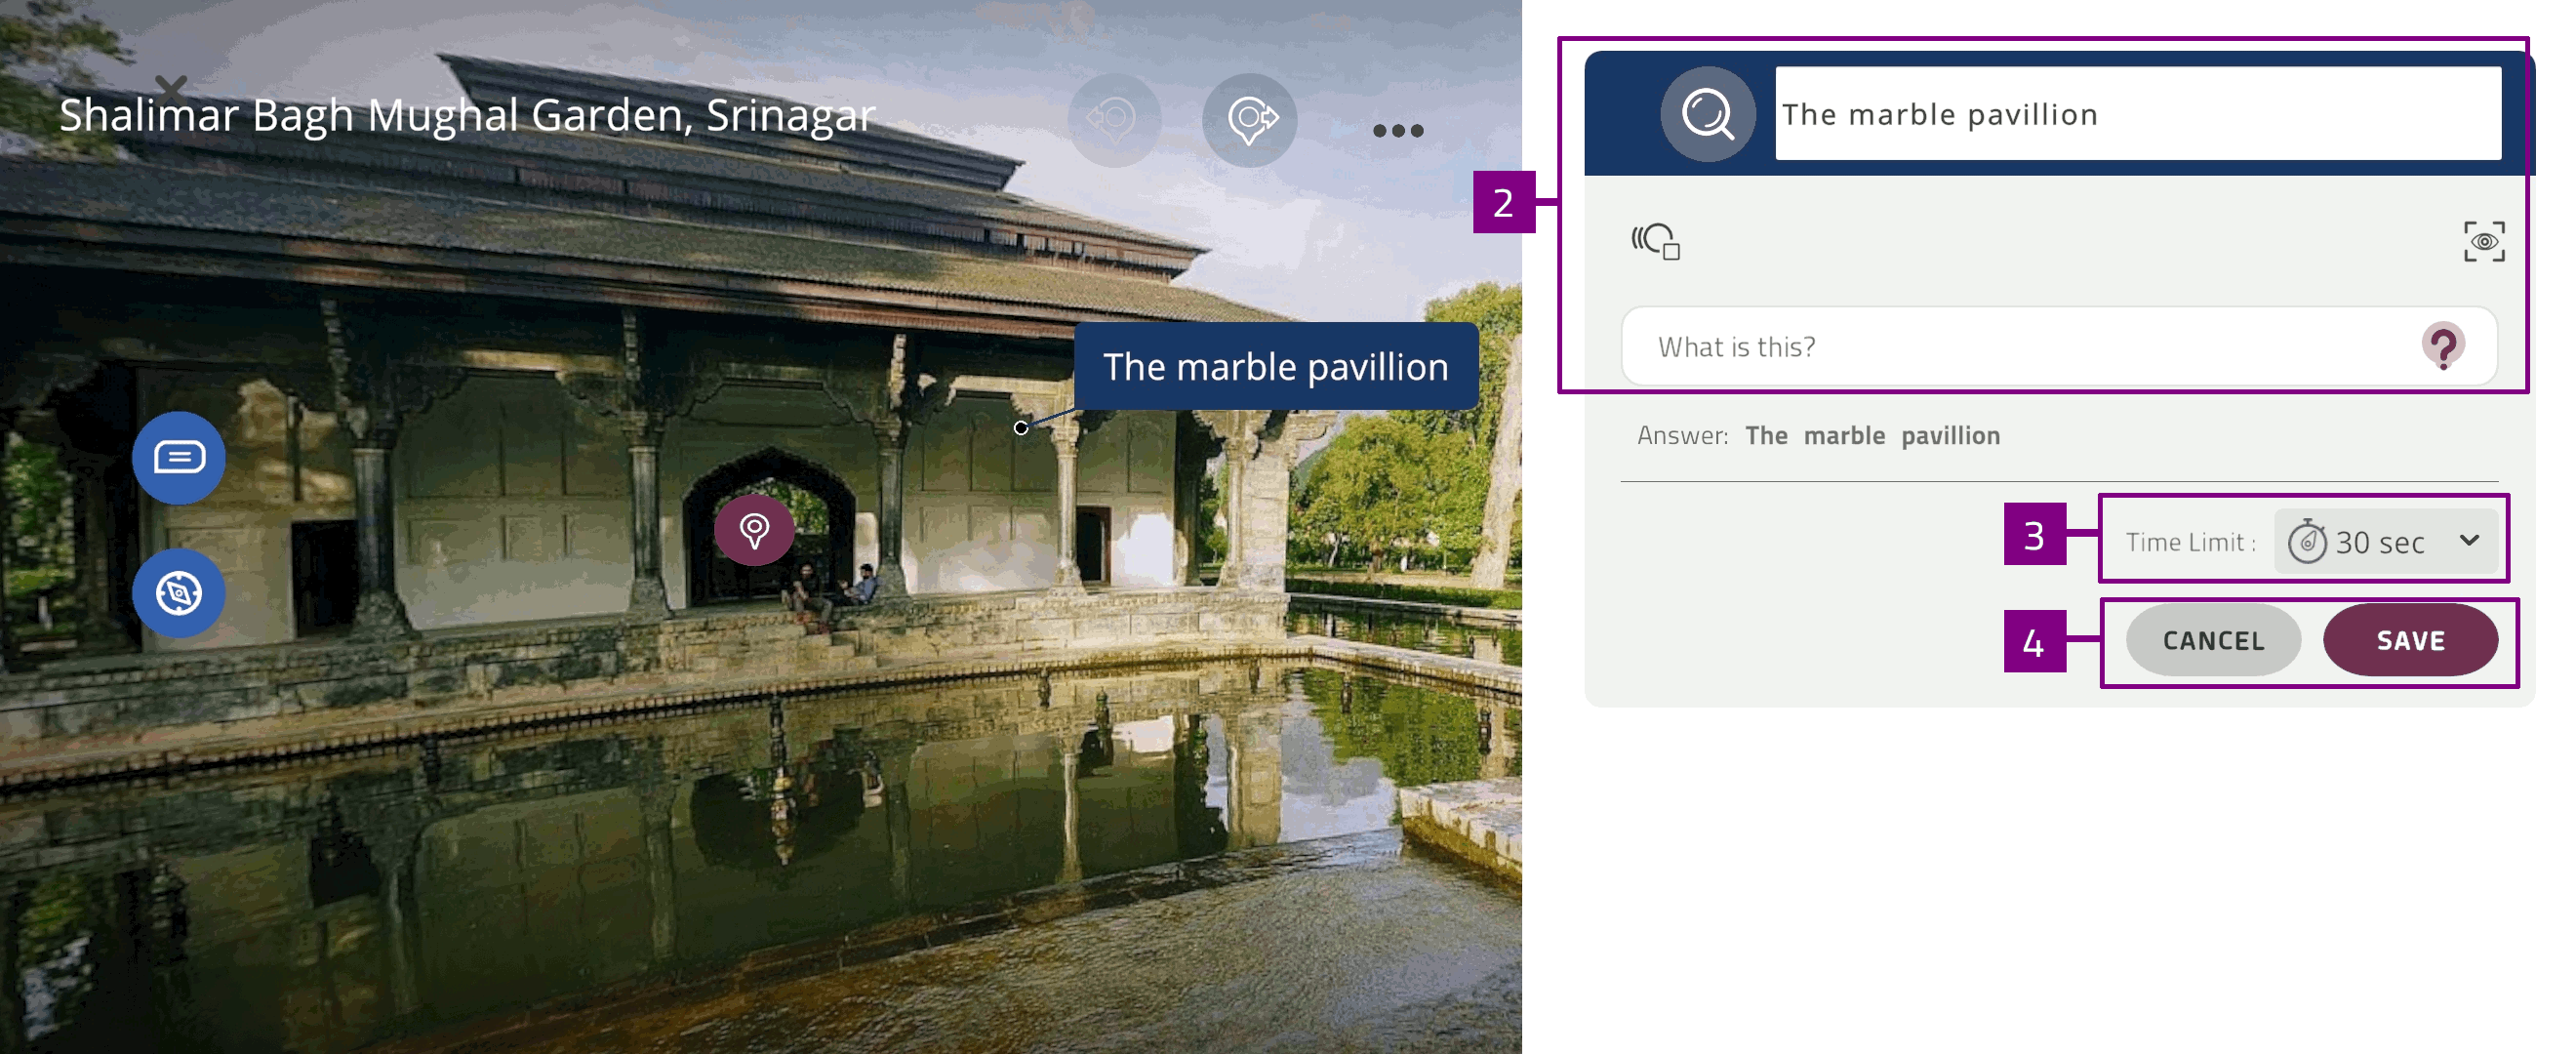
Identify
The Identify  activity tests the user’s ability to name specified parts of the 360 scene.
Type to edit the Activity name and question
Select Time limit
 to change the activity timer to the desired duration
Select Done to save the changes, or Cancel to discard
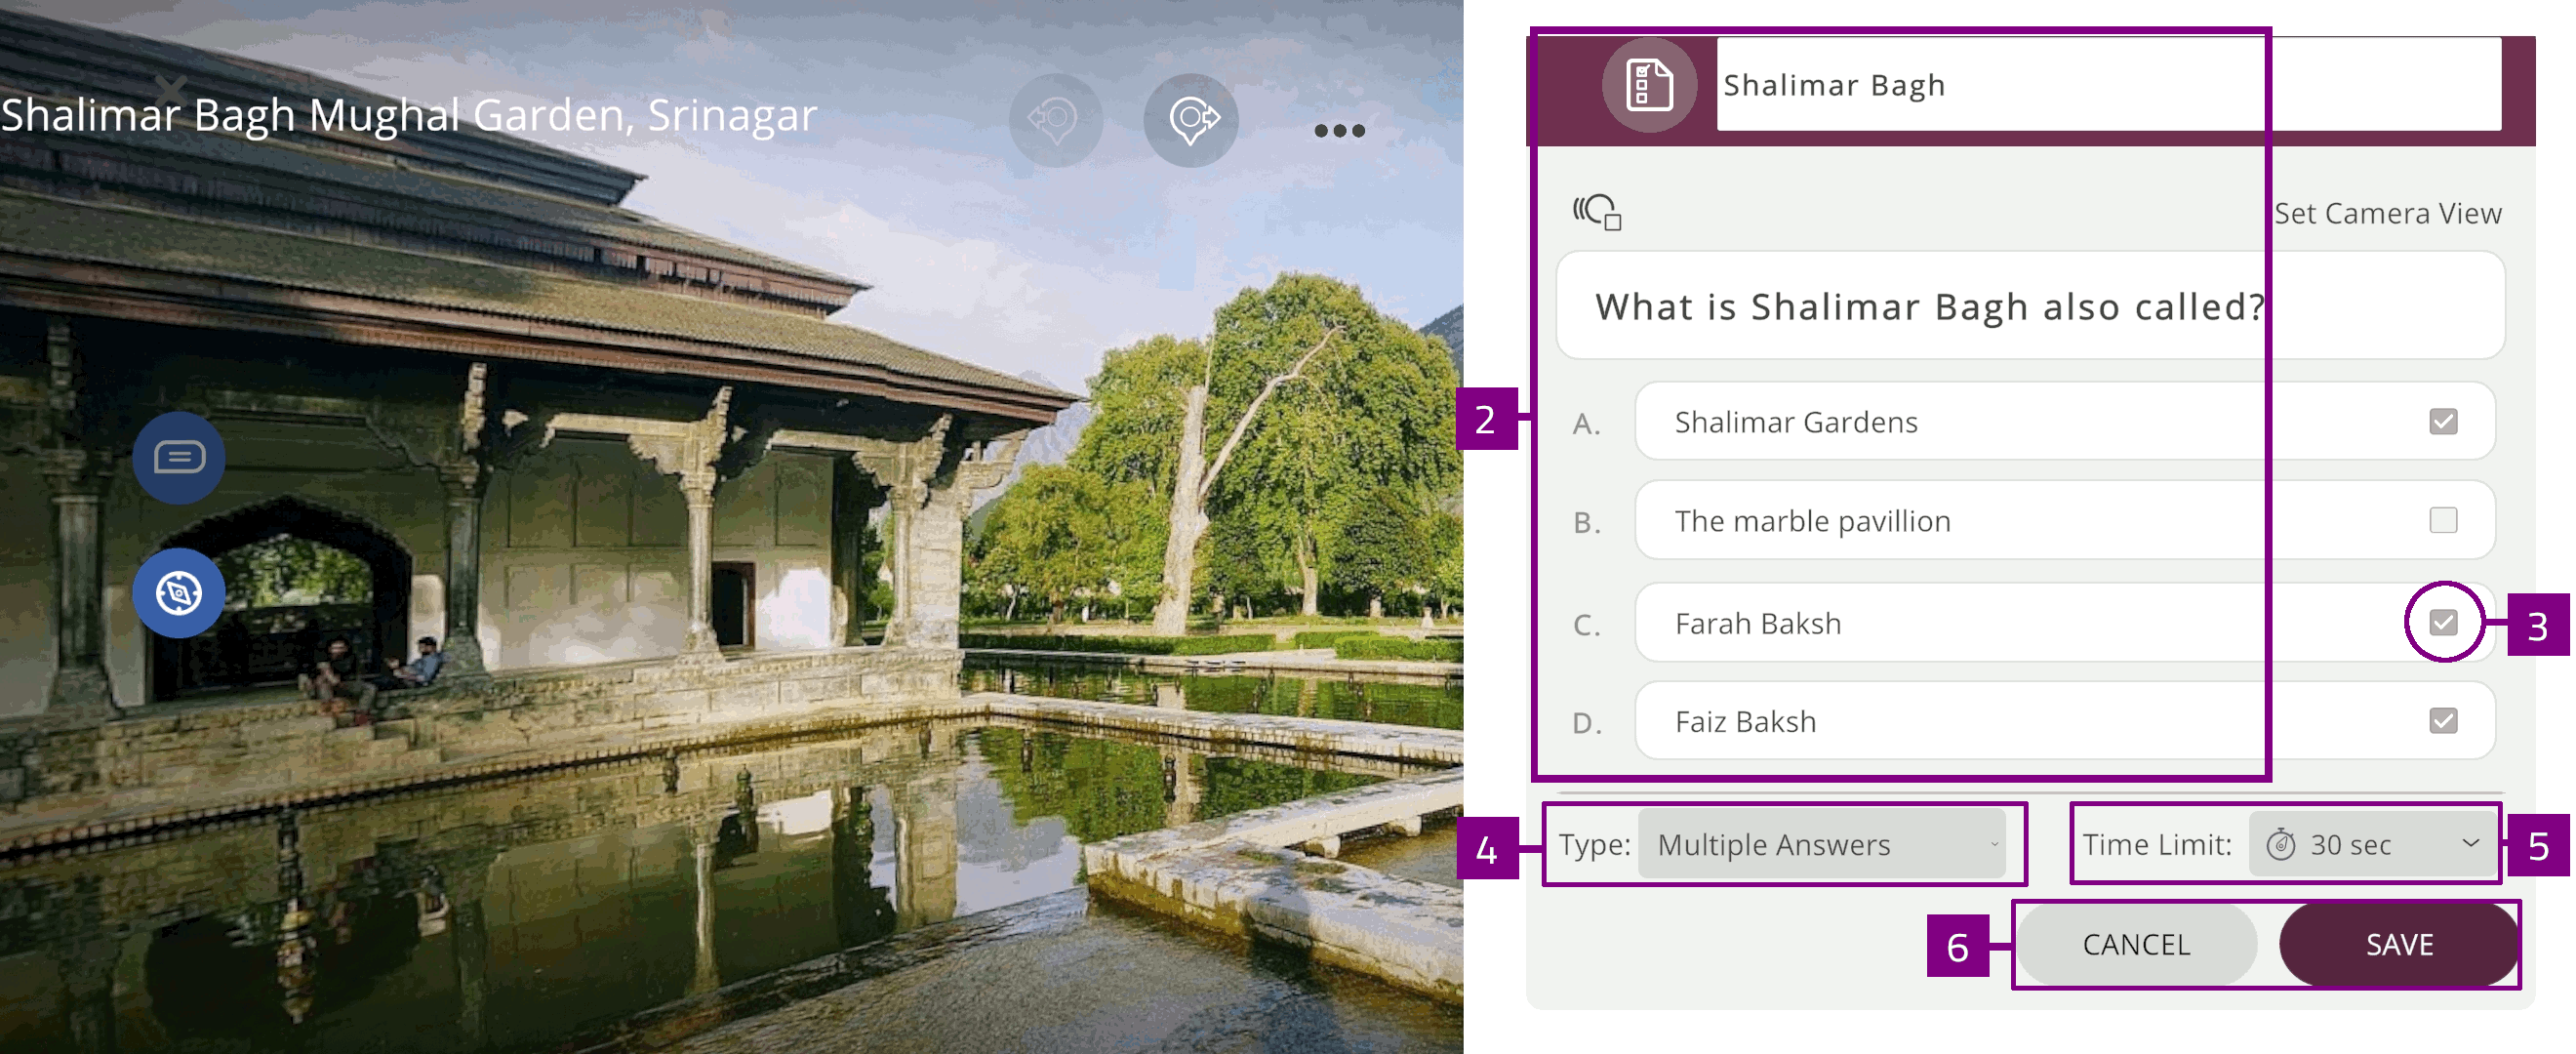
Quiz
The Quiz  activity tests the user’s knowledge related to the 360 Xperience with multiple-choice questions.
Type to edit the Activity name, question and answer options
Select the checkbox to indicate the correct answer option(s)
Select Type to set the question type:
You can select either single answer or multiple answer type question
Select Time limit
 to change the activity timer to the desired duration
Locate
The Locate activity tests the user’s ability to find and select specific annotation points in the 360 scene.
Type to edit the Activity name and question
Select Time limit
 to change the activity timer to the desired duration
Optionally, select
 to autoplay an animation when the activity starts
Note
The Locate activity must be added as an annotation specific activity.
Hint
When performing the Locate activity in a 360 Xperience, all annotation labels are hidden.


